
Now why would you want to do something as silly as this? Well, maybe because it’s FUN? Using an application called Snap Camera from Snap Inc. you can select different ‘Lenses’ to use when on a Zoom session or other video chats. For the sake of this post, we’ll stick with Zoom. Following are the steps to get this working on your PC.
First, we’ll assume you have a working camera on your Mac or PC. Of course you do since you have probably been ‘Zooming’ for several months now.
Next, go to the Snap Camera web page, download and install the Snap Camera app. With that app on your computer, go ahead and test your camera and with Snap Camera try out some of the Lenses provided. Here’s an image of the Snap Camera icon on your desktop or in your list of intalled apps.

And a before and after shot of yours truly using a basic Lense within the Snap Camera app.
Before

And after

Can you see the difference? Looks like I need a haircut in both images…
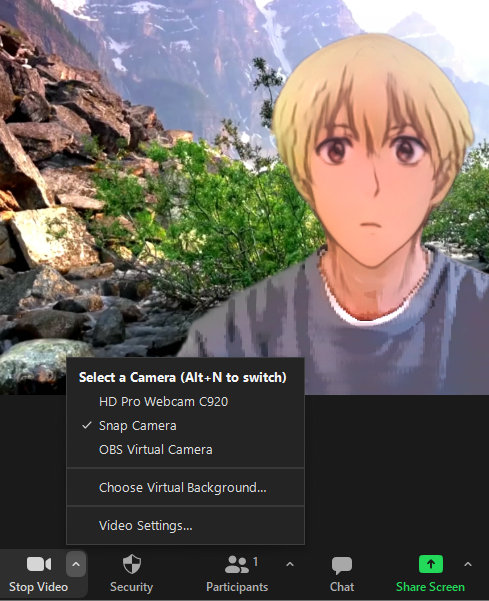
So now with the Snap Camera app still open and your favorite Lense selected, start your Zoom session. Once in Zoom, where it says ‘Stop Video’ in the lower left corner, click the up-arrow to make sure ‘Snap Camera’ is selected.
One caveat with this application is it might be slightly finicky. If you want to revert back to your camera without the Snap Lense effect, you might need to close the Snap Camera app before switching. And of course, if it really gets annoying (which is why I had uninstalled it a while back), then you can of course uninstall the app and return to your normal self.
Enjoy!