
Now for something completely different! This isn’t tech, and I’m not sure it’s even for seniors, but I’m going to write it here anyway because I want to share our camper story.
For starters, what’s a teardrop camper? According to Wikipedia, “a teardrop trailer, also known as a teardrop camper trailer, is a streamlined, compact, lightweight caravan, which gets its name from its teardrop profile. They usually only have sleeping space for two adults and often have a basic kitchen in the back.”
What’s the primary attraction of a teardrop camper versus a larger trailer? For us, the teardrop addresses two important criteria. First, I can tow it with my Subaru Outback. And second, it fits in a normal garage.
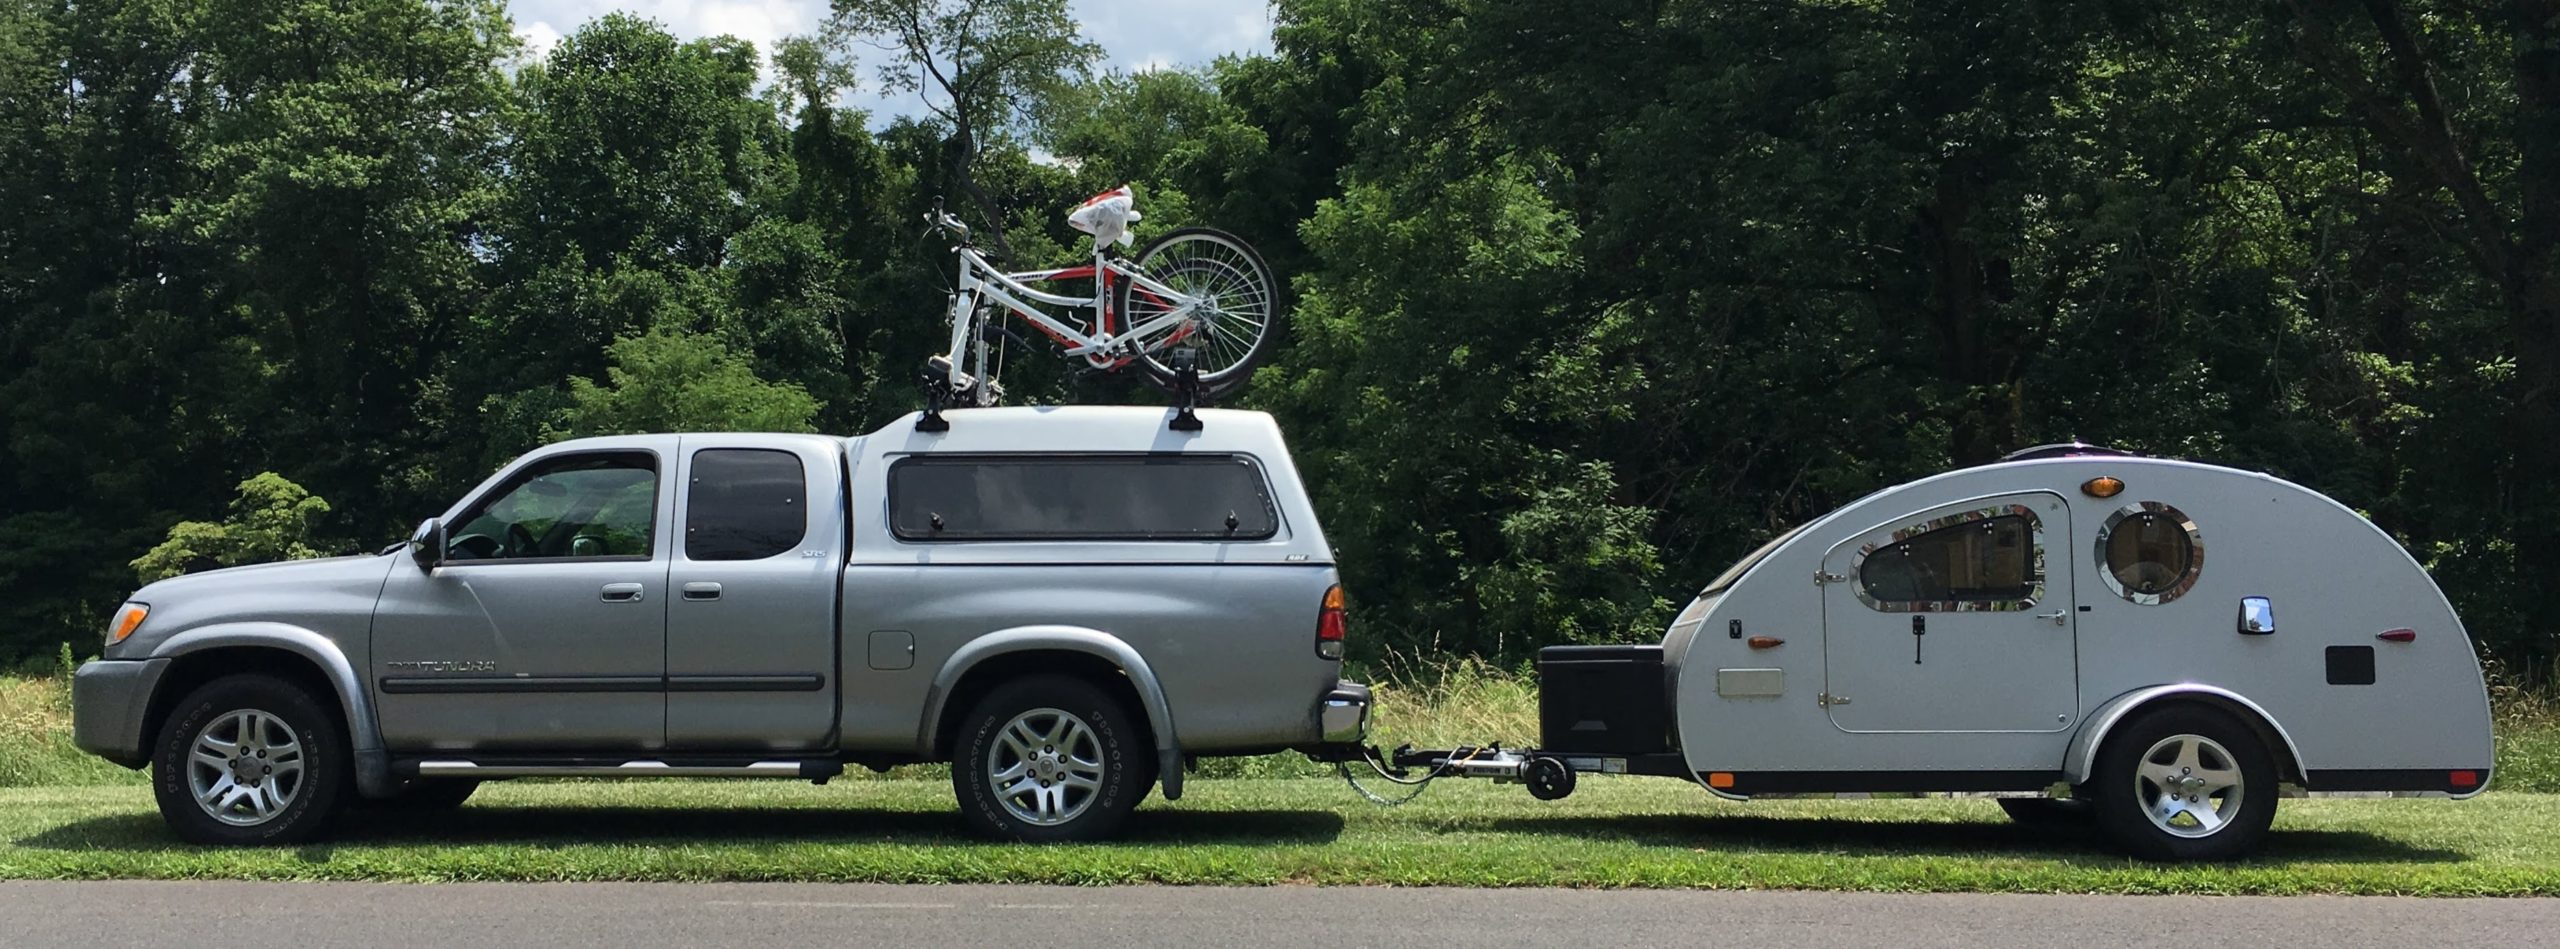
The teardrop camper I’m writing about here isn’t our first one. In 2018 we bought a Vistabule trailer, which has beautiful craftsmanship and design. The Vistabule is a beauty. We went camping a couple times and enjoyed it’s fun look and comfortable practicalities, but alas, family obligations kept us from using it more, so we sold it to a local couple who were on the 9-month waiting list for a new one. Here’s a picture of the classy Vistabule (looks miniscule tethered to the Tundra):
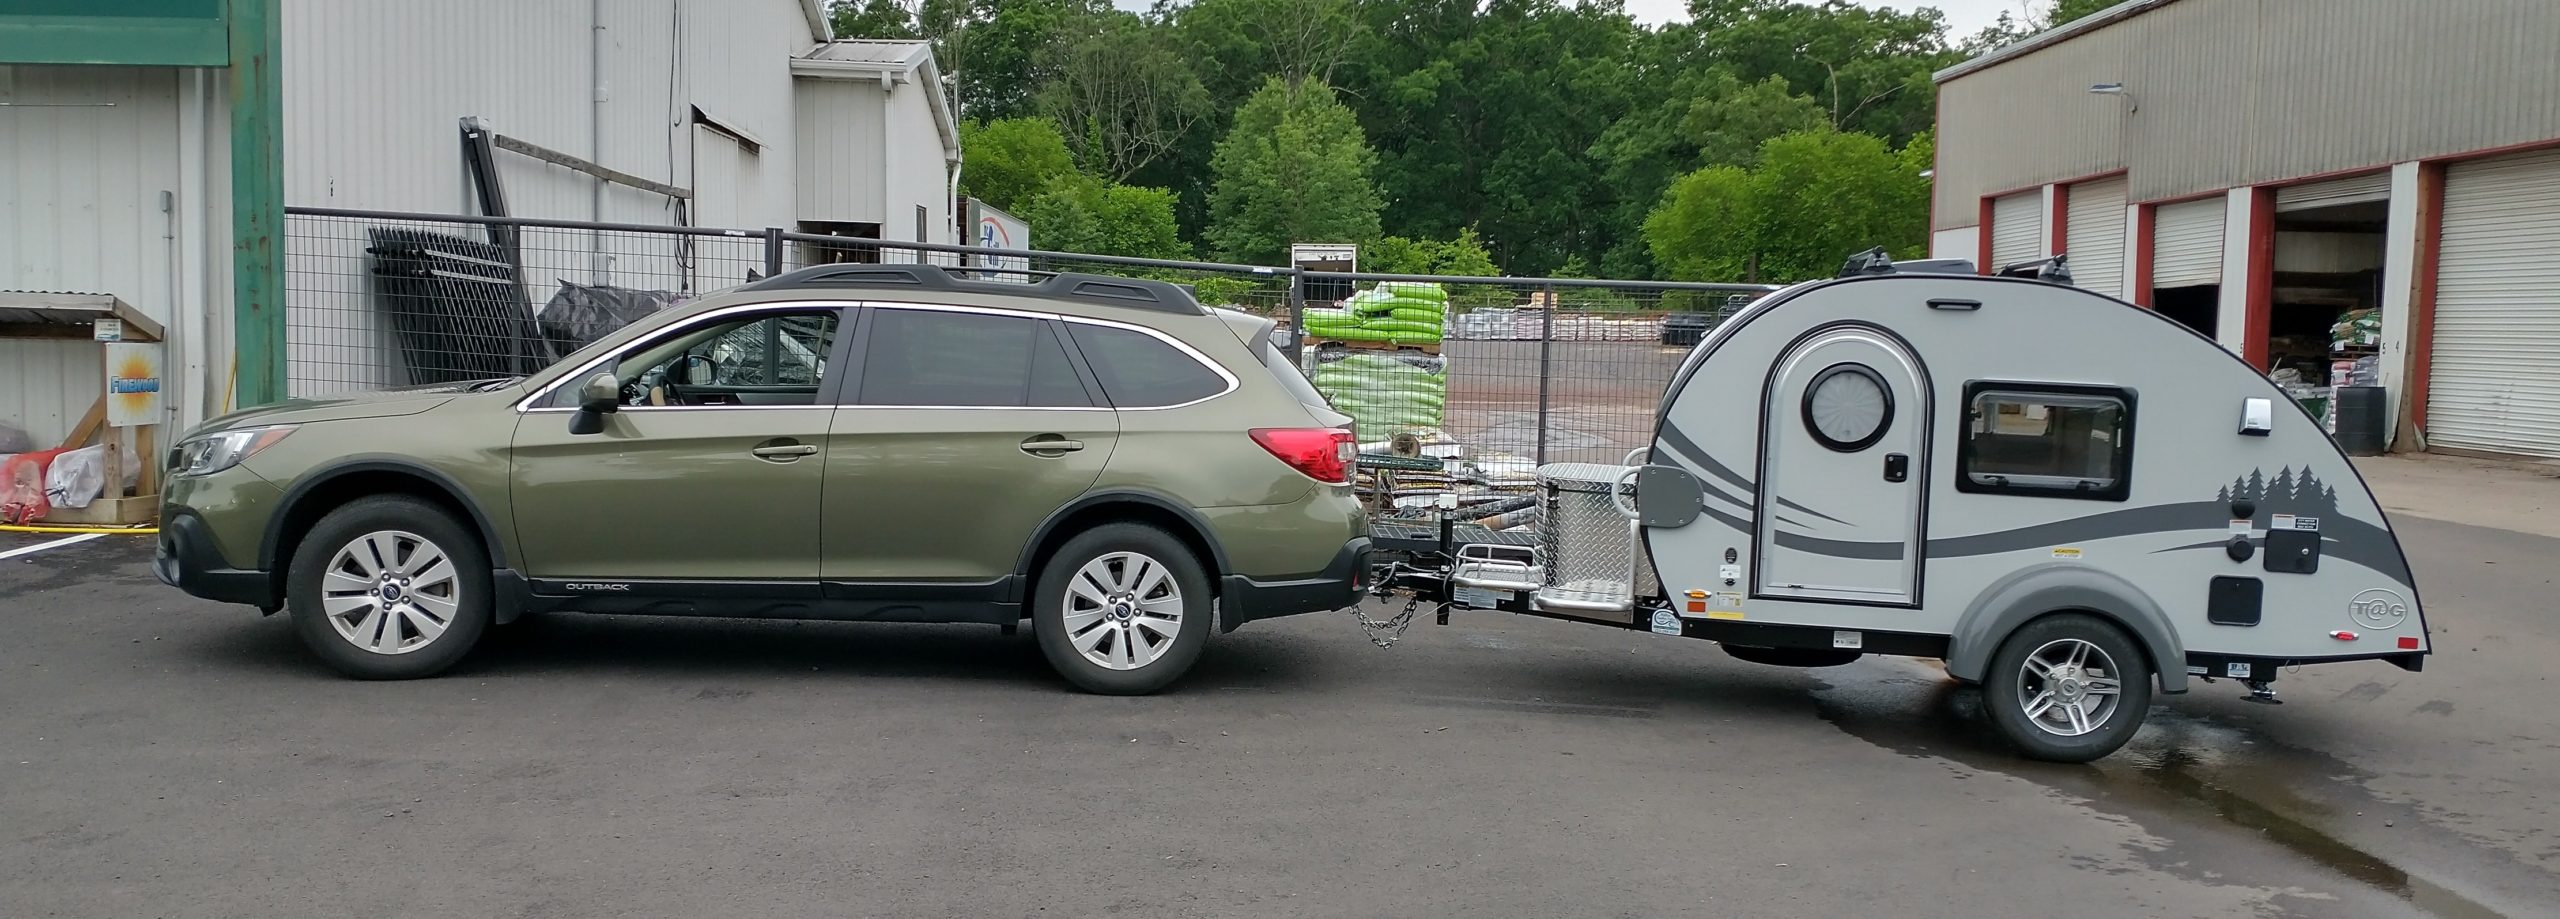
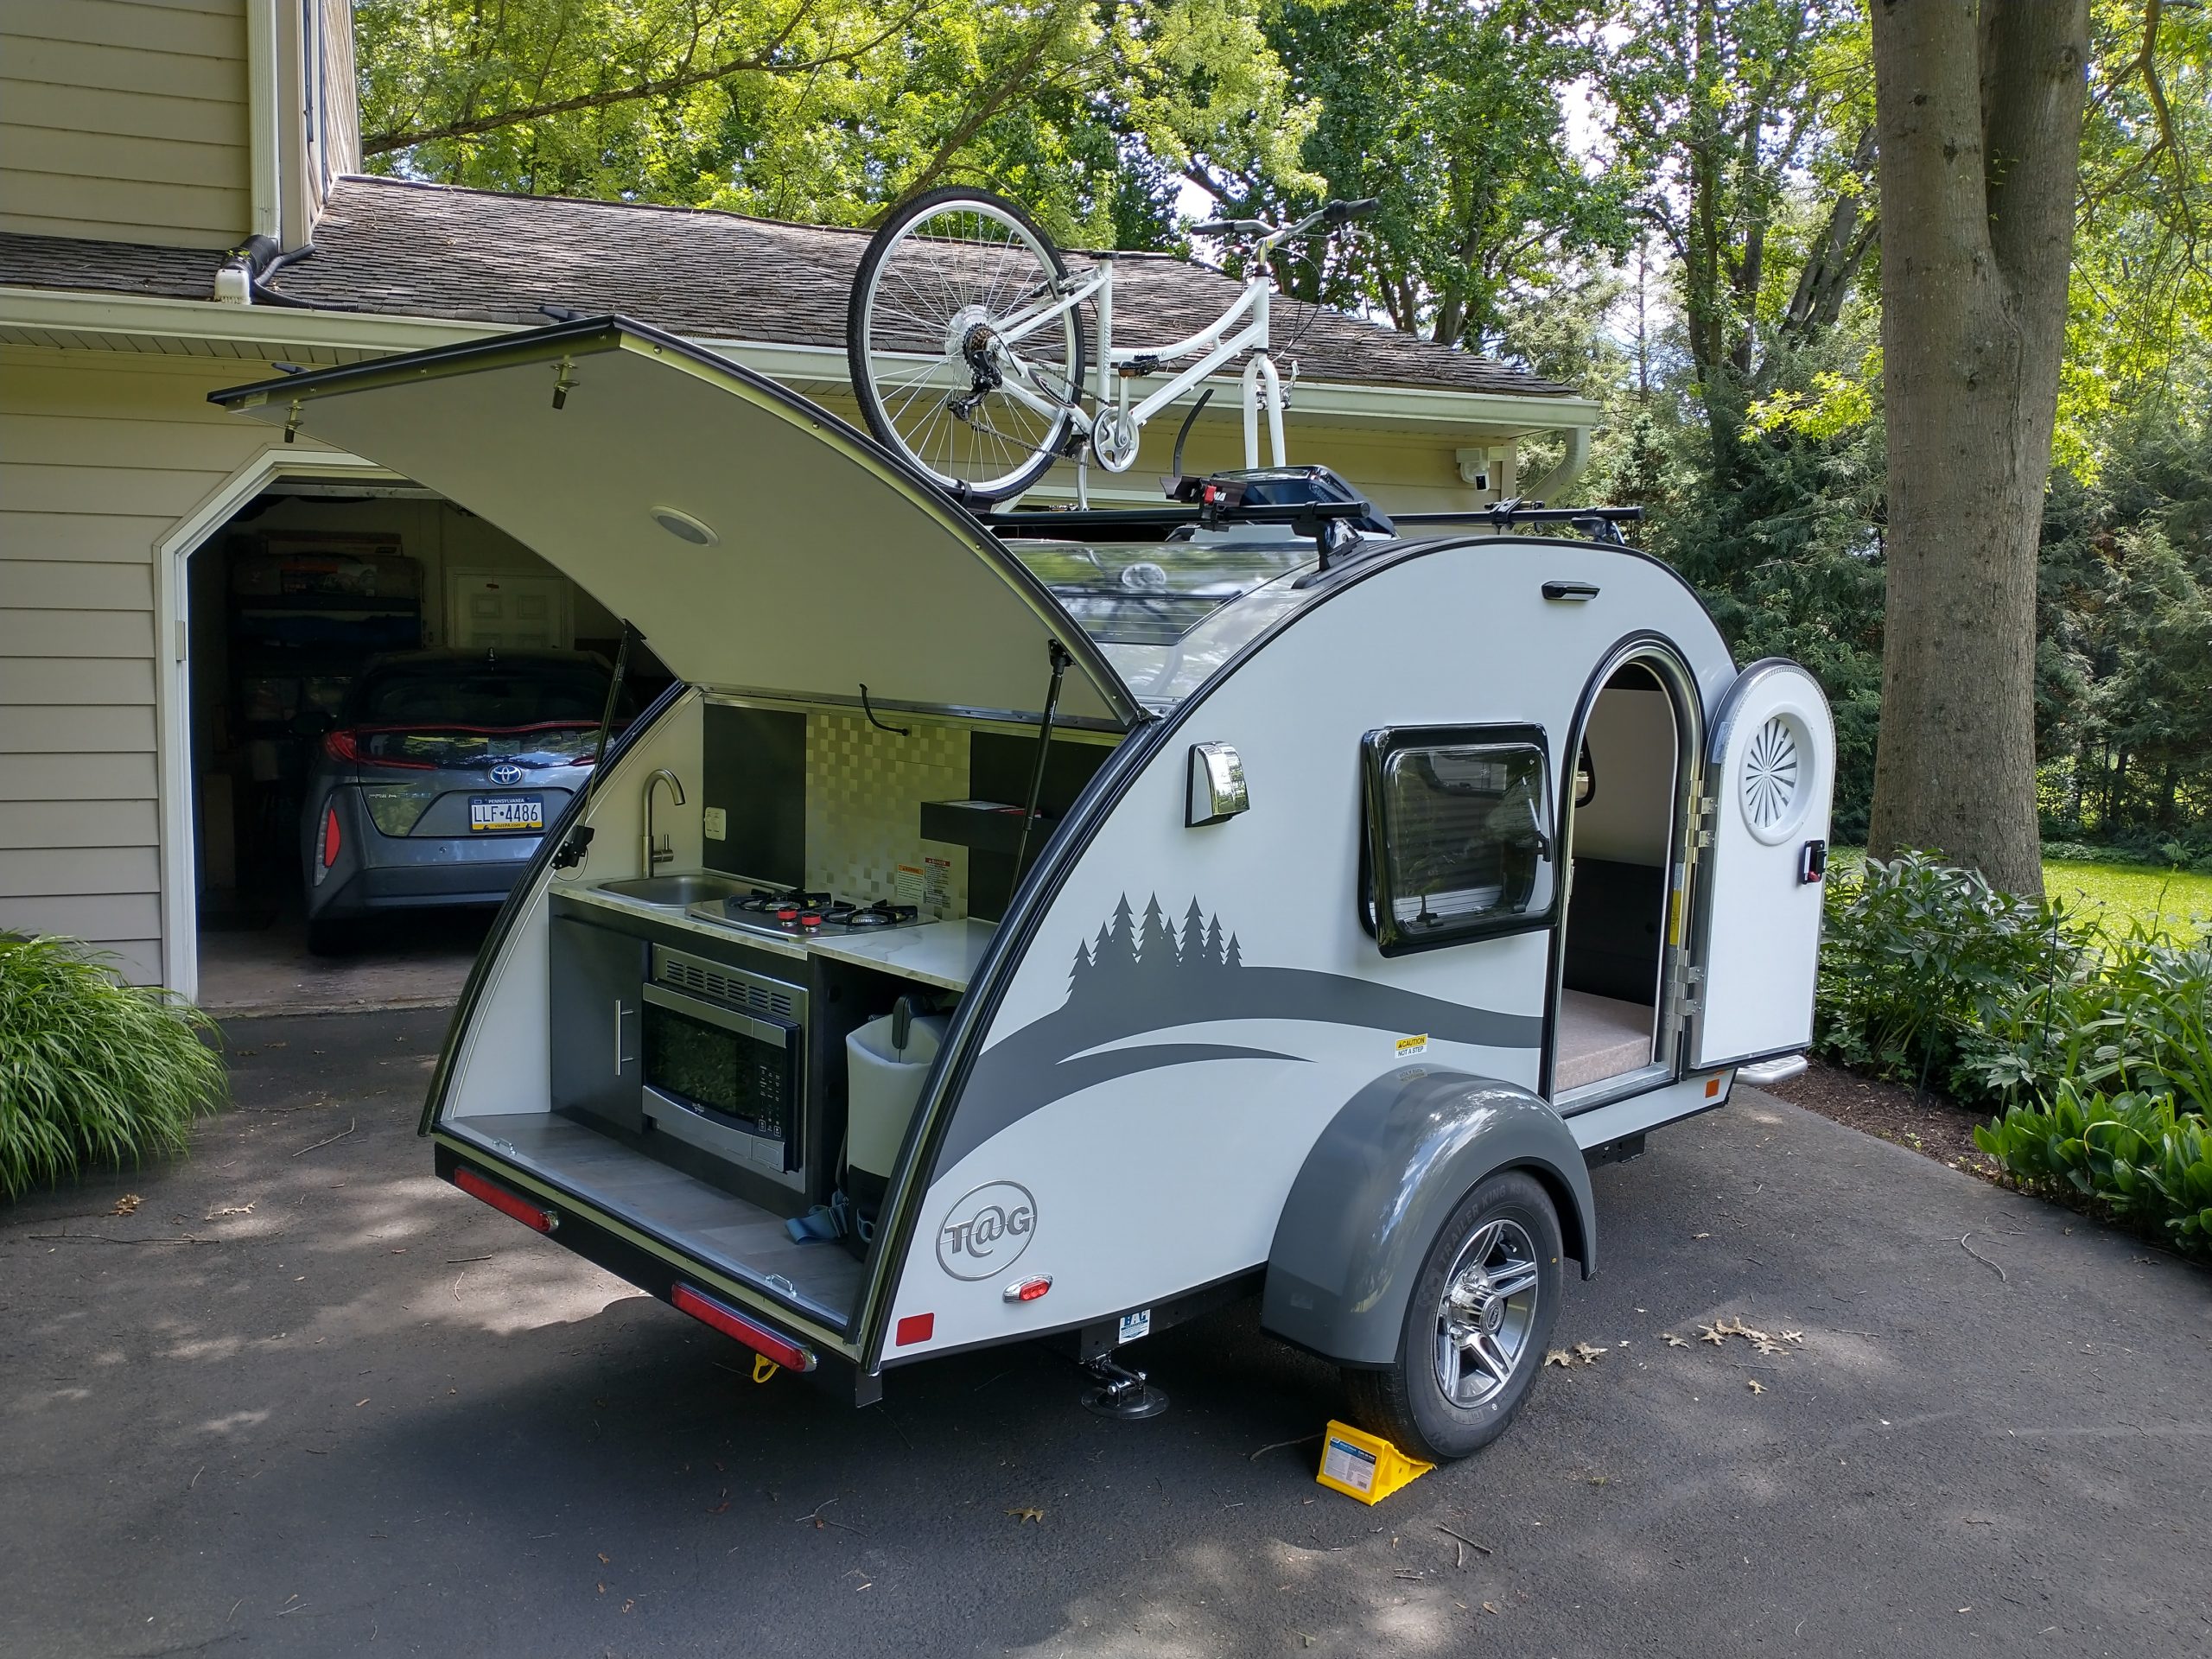
Earlier this year, we got the teardrop bug again and compared other makes. This time we chose something with a little longer bed for me at 6’2″ that still fit in the garage, the Nucamp T@G. Our local dealer had one coming in that checked all our boxes, with no long wait, which is the norm these days. Here’s a picture of the T@G the day we picked it up at Miller Trailer Sales in Perkasie, PA. (Nucamp sales and support has recently transitioned to Indian Valley Camping Center in Soulderton, PA)
We went with the standard T@G (not the XL or Boondock) with an aluminum utility platform, Yakima roof rack, and Woodlawn graphics (these were included with the trailer that was being sent to Miller Trailer Sales). Turns out, these are the options we would have selected anyway, so that worked out perfectly. And I opted for a larger capacity battery, which was also a good idea.
Upon taking delivery, the front screen/shade assembly was missing and would soon be installed, and battery failed and was replaced. Miller Trailer Sales is close by and they have been responsive to all of my question and concerns. One other minor issue at delivery time was the keys for the Yakima roof rack were the wrong ones and were soon replaced.
So now we have our brand new teardrop camper and are visiting PA state parks to start this summer and fall. In the next several paragraphs I’m going to describe a number of things I did to customize our new T@G to work better for the way we like to camp.
In the galley area:
1 – Disable water pump
We’re not planning to use the water system build into the T@G, so I thought it best to disable the pump so it couldn’t be turned on accidentally, damaging the pump motor. As you can see, the pump switch is right next to the accent light switch, making it easy to accidentally turn on.

2 – Fashioned a cutting board for over the sink
And since we’re not using water, the sink area is best used as additional counter space. To achieve this, we purchased an Ikea PROPPMÄTT Cutting board and notched it to fit around the faucet stalk as such:


3 – Add peg board above sink
There’s also an area above the sink we thought could be used better, so we purchased the Ikea SKÅDIS Pegboard, Shelves, and Hooks to make this space function better.

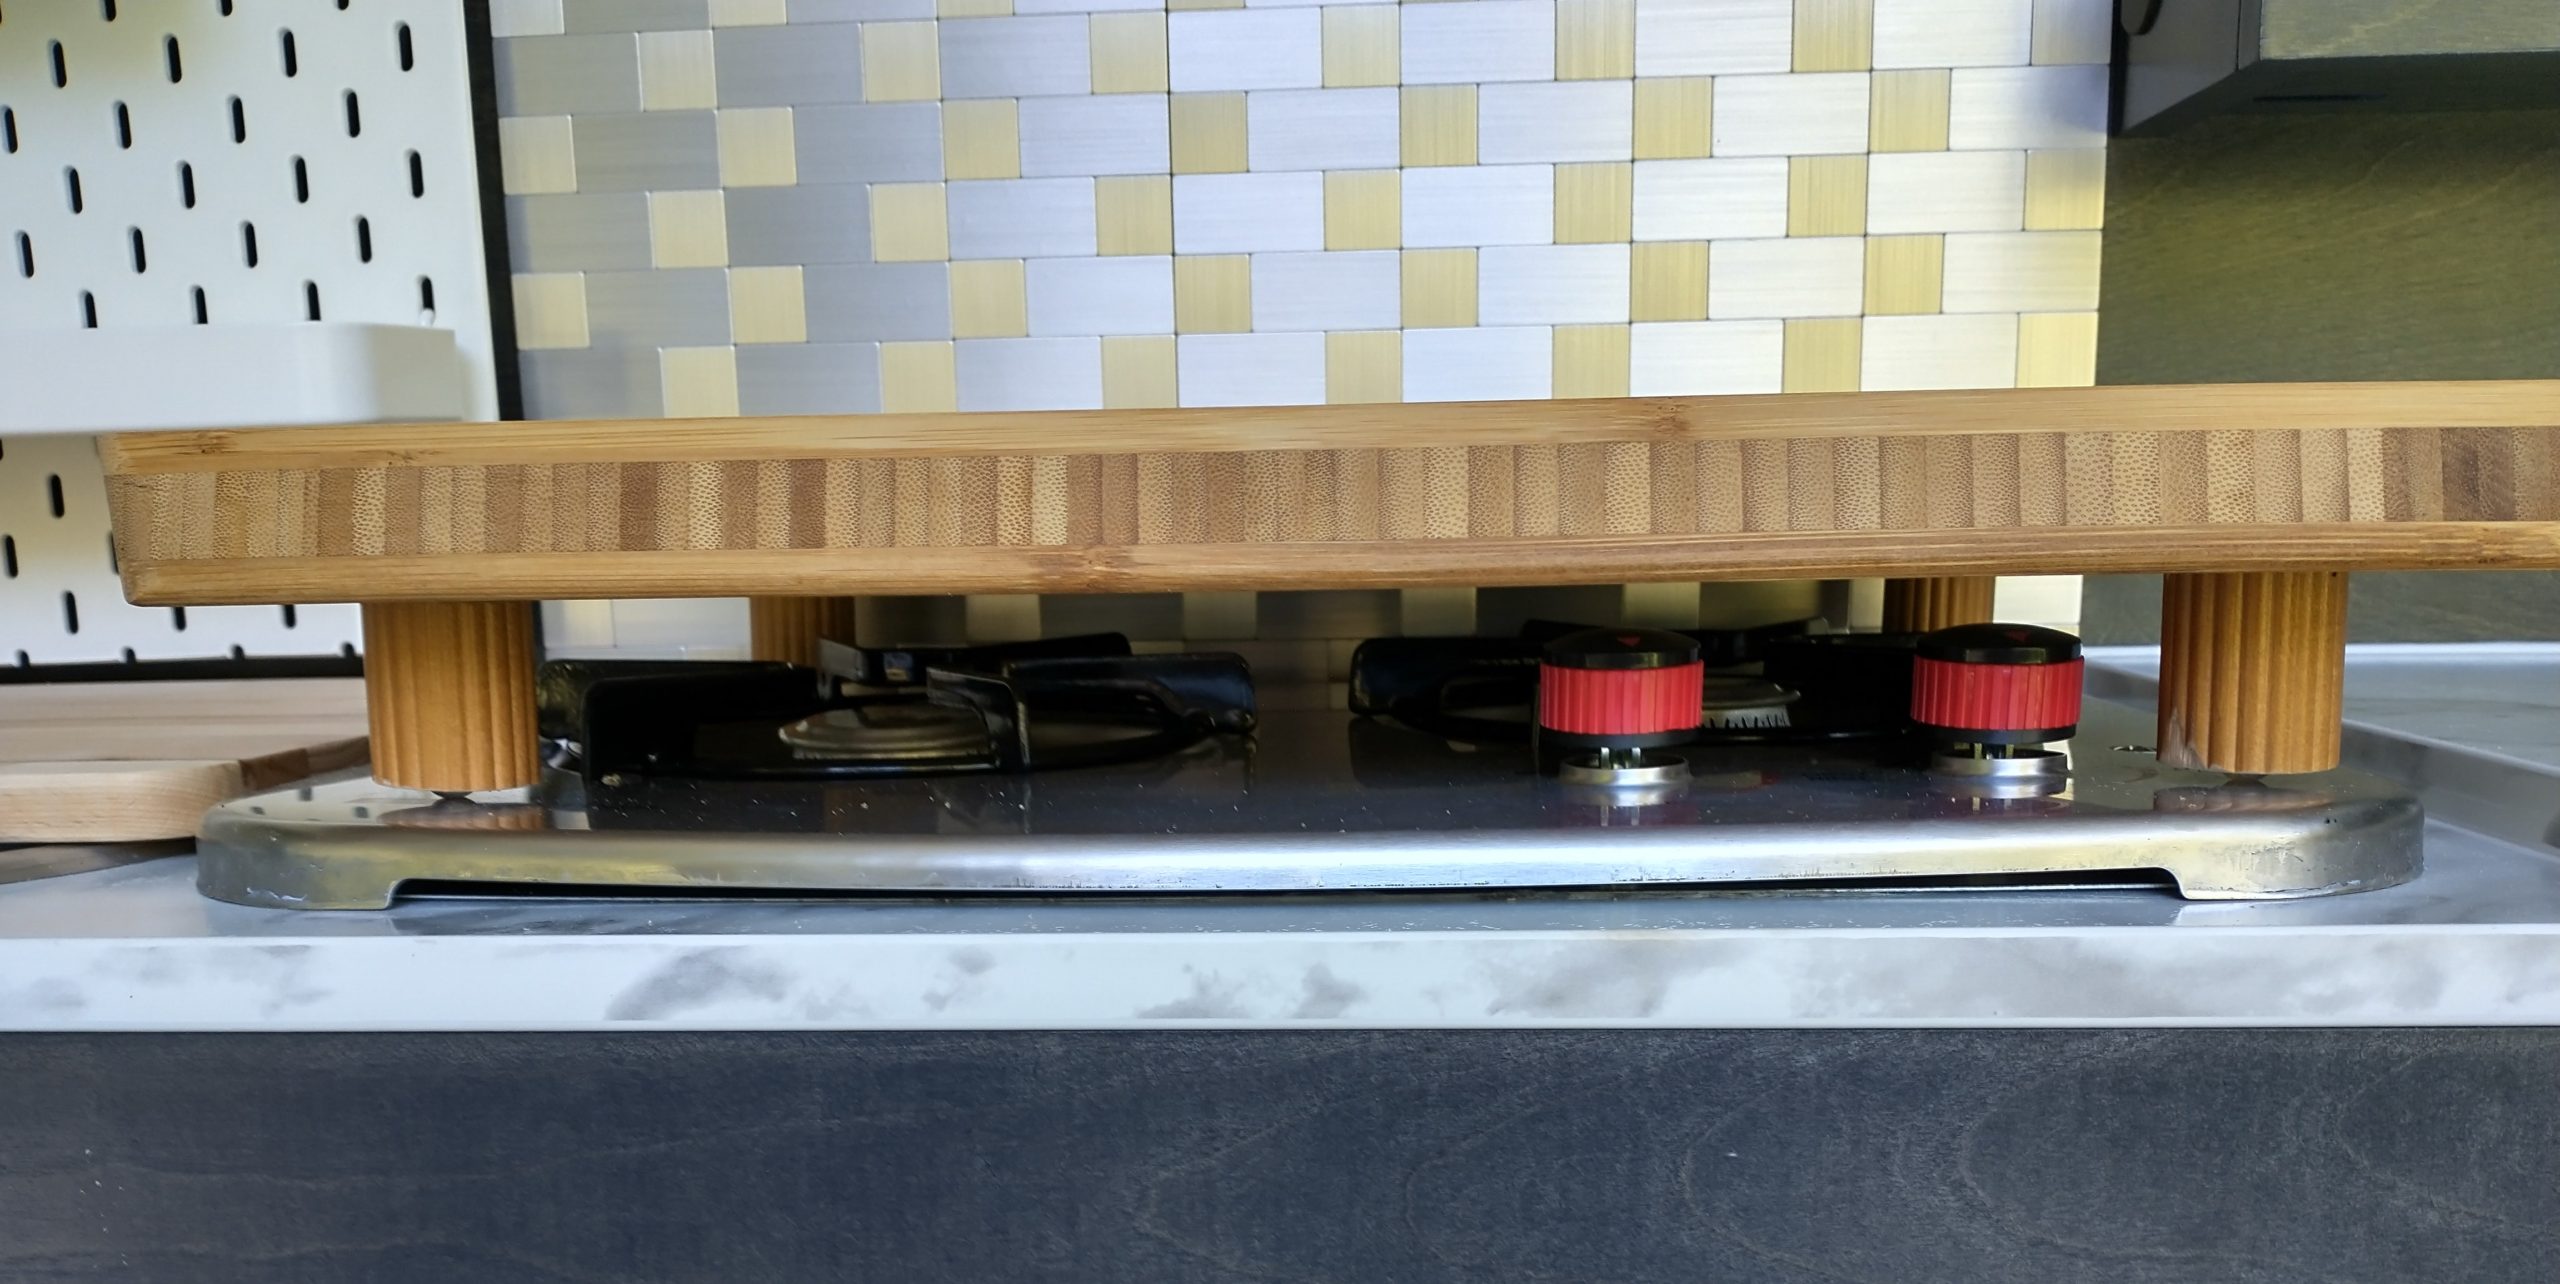
4 – Customized a cutting board to sit over the stove
It also seemed like a reasonable idea to fashion another cutting board, in this case an Ikea APTITLIG Butcher Block, to sit over the stove when not in use. Using pieces cut from an old curtain rod, I was able to give the butcher block removable legs that cleared the stove burners and controls.

5 – Built a stove knob heat guard and secondary backsplash heat protection around stove
There’s also a bit of an issue with the stove top included with this camper. Some owners report that heat from the stove can warp the heat shield on the wall behind the stove, and in some cases, heat from the right-hand burner can melt the plastic knobs. To deal with both of these potential issues, we purchased an Ohuhu Camp Stove Windscreen and I fashioned a knob protector out of some aluminum material I had on hand. First, the knob protector.
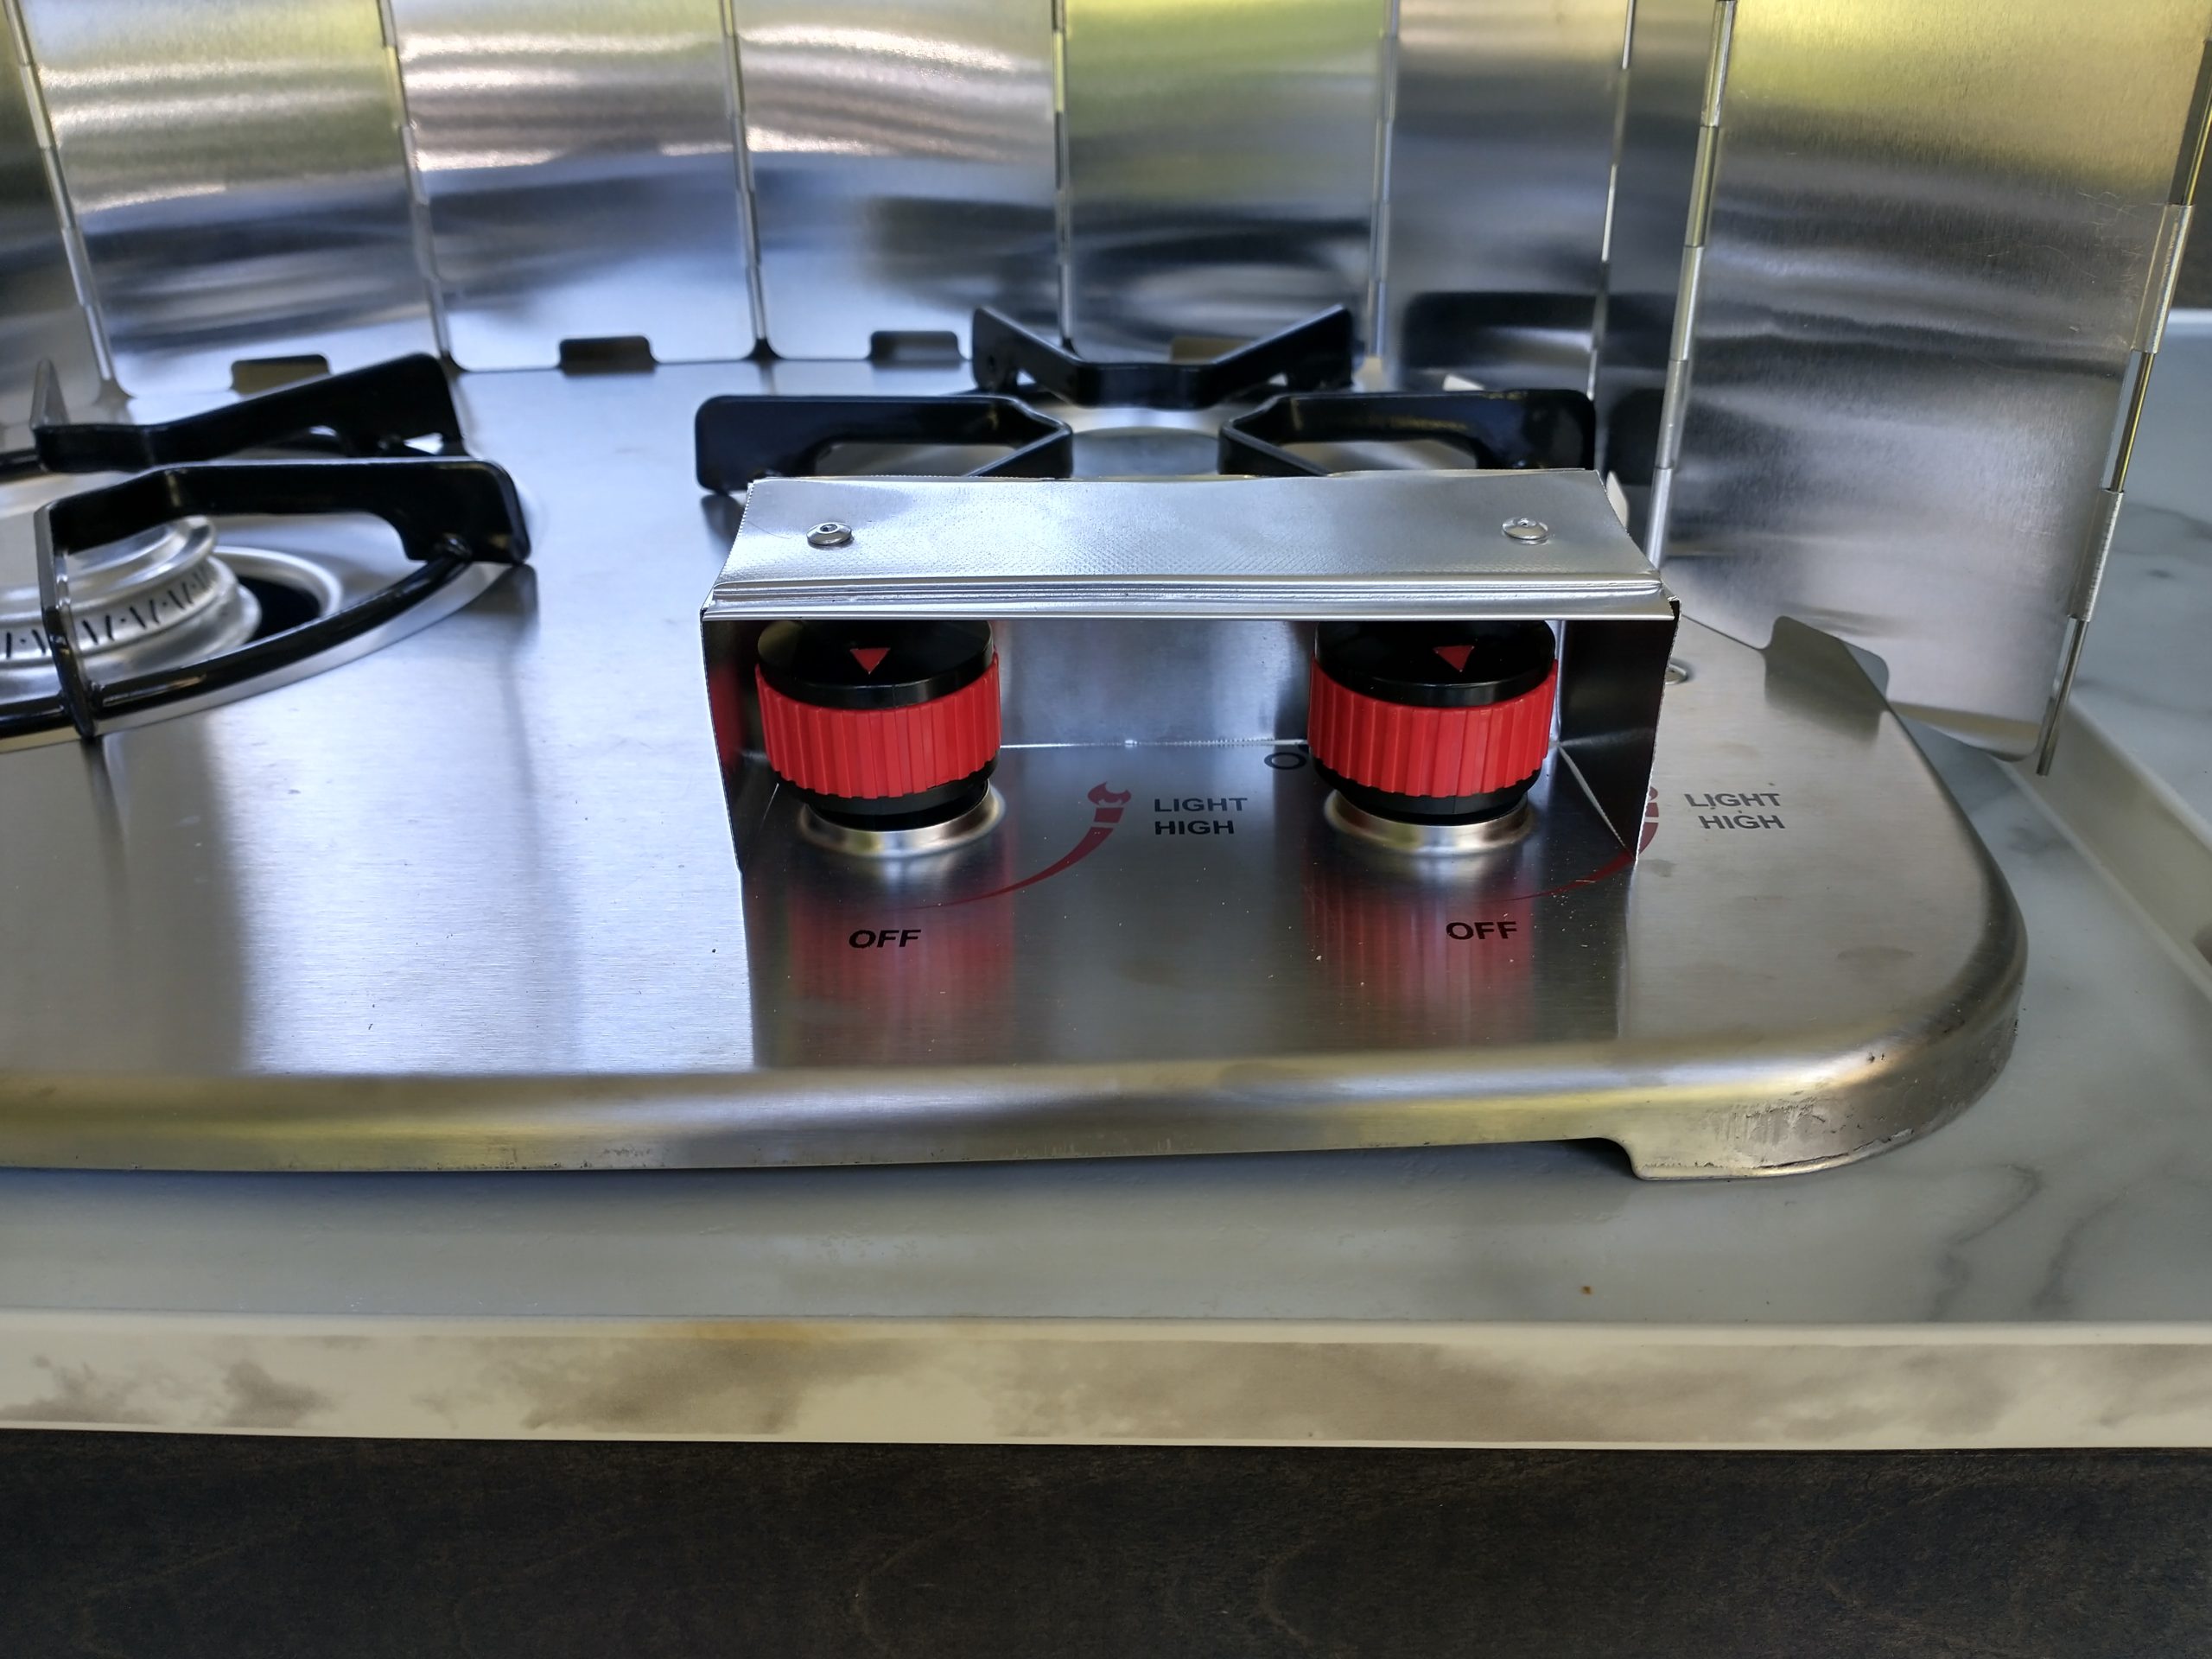
And then the windscreen. This screen also works well to shelter the stove from wind, but also secures in place with small holes drilled on either side of the stove.

6 – Designed a propane cutoff valve override switch thingy
There is one odd feature many T@G owners have commented on, and that’s the propane cutoff solenoid that’s activated via a switch built into the left hydraulic strut on the rear hatch. When the hatch is open, the solenoid activates and lets propane flow.

While the solenoid is activated, it appears to draw a significant amount of energy from the battery. The complaint has been that the battery doesn’t hold a charge very long, and this solenoid appears to be an important factor, so I whittled down a paint stick to fit into the switch to fool the solenoid. I needed to add a couple layers of Gorilla tape to the end to keep the switch closed. When the stick is inserted into the switch, the solenoid is disabled (not pulling current from the battery).
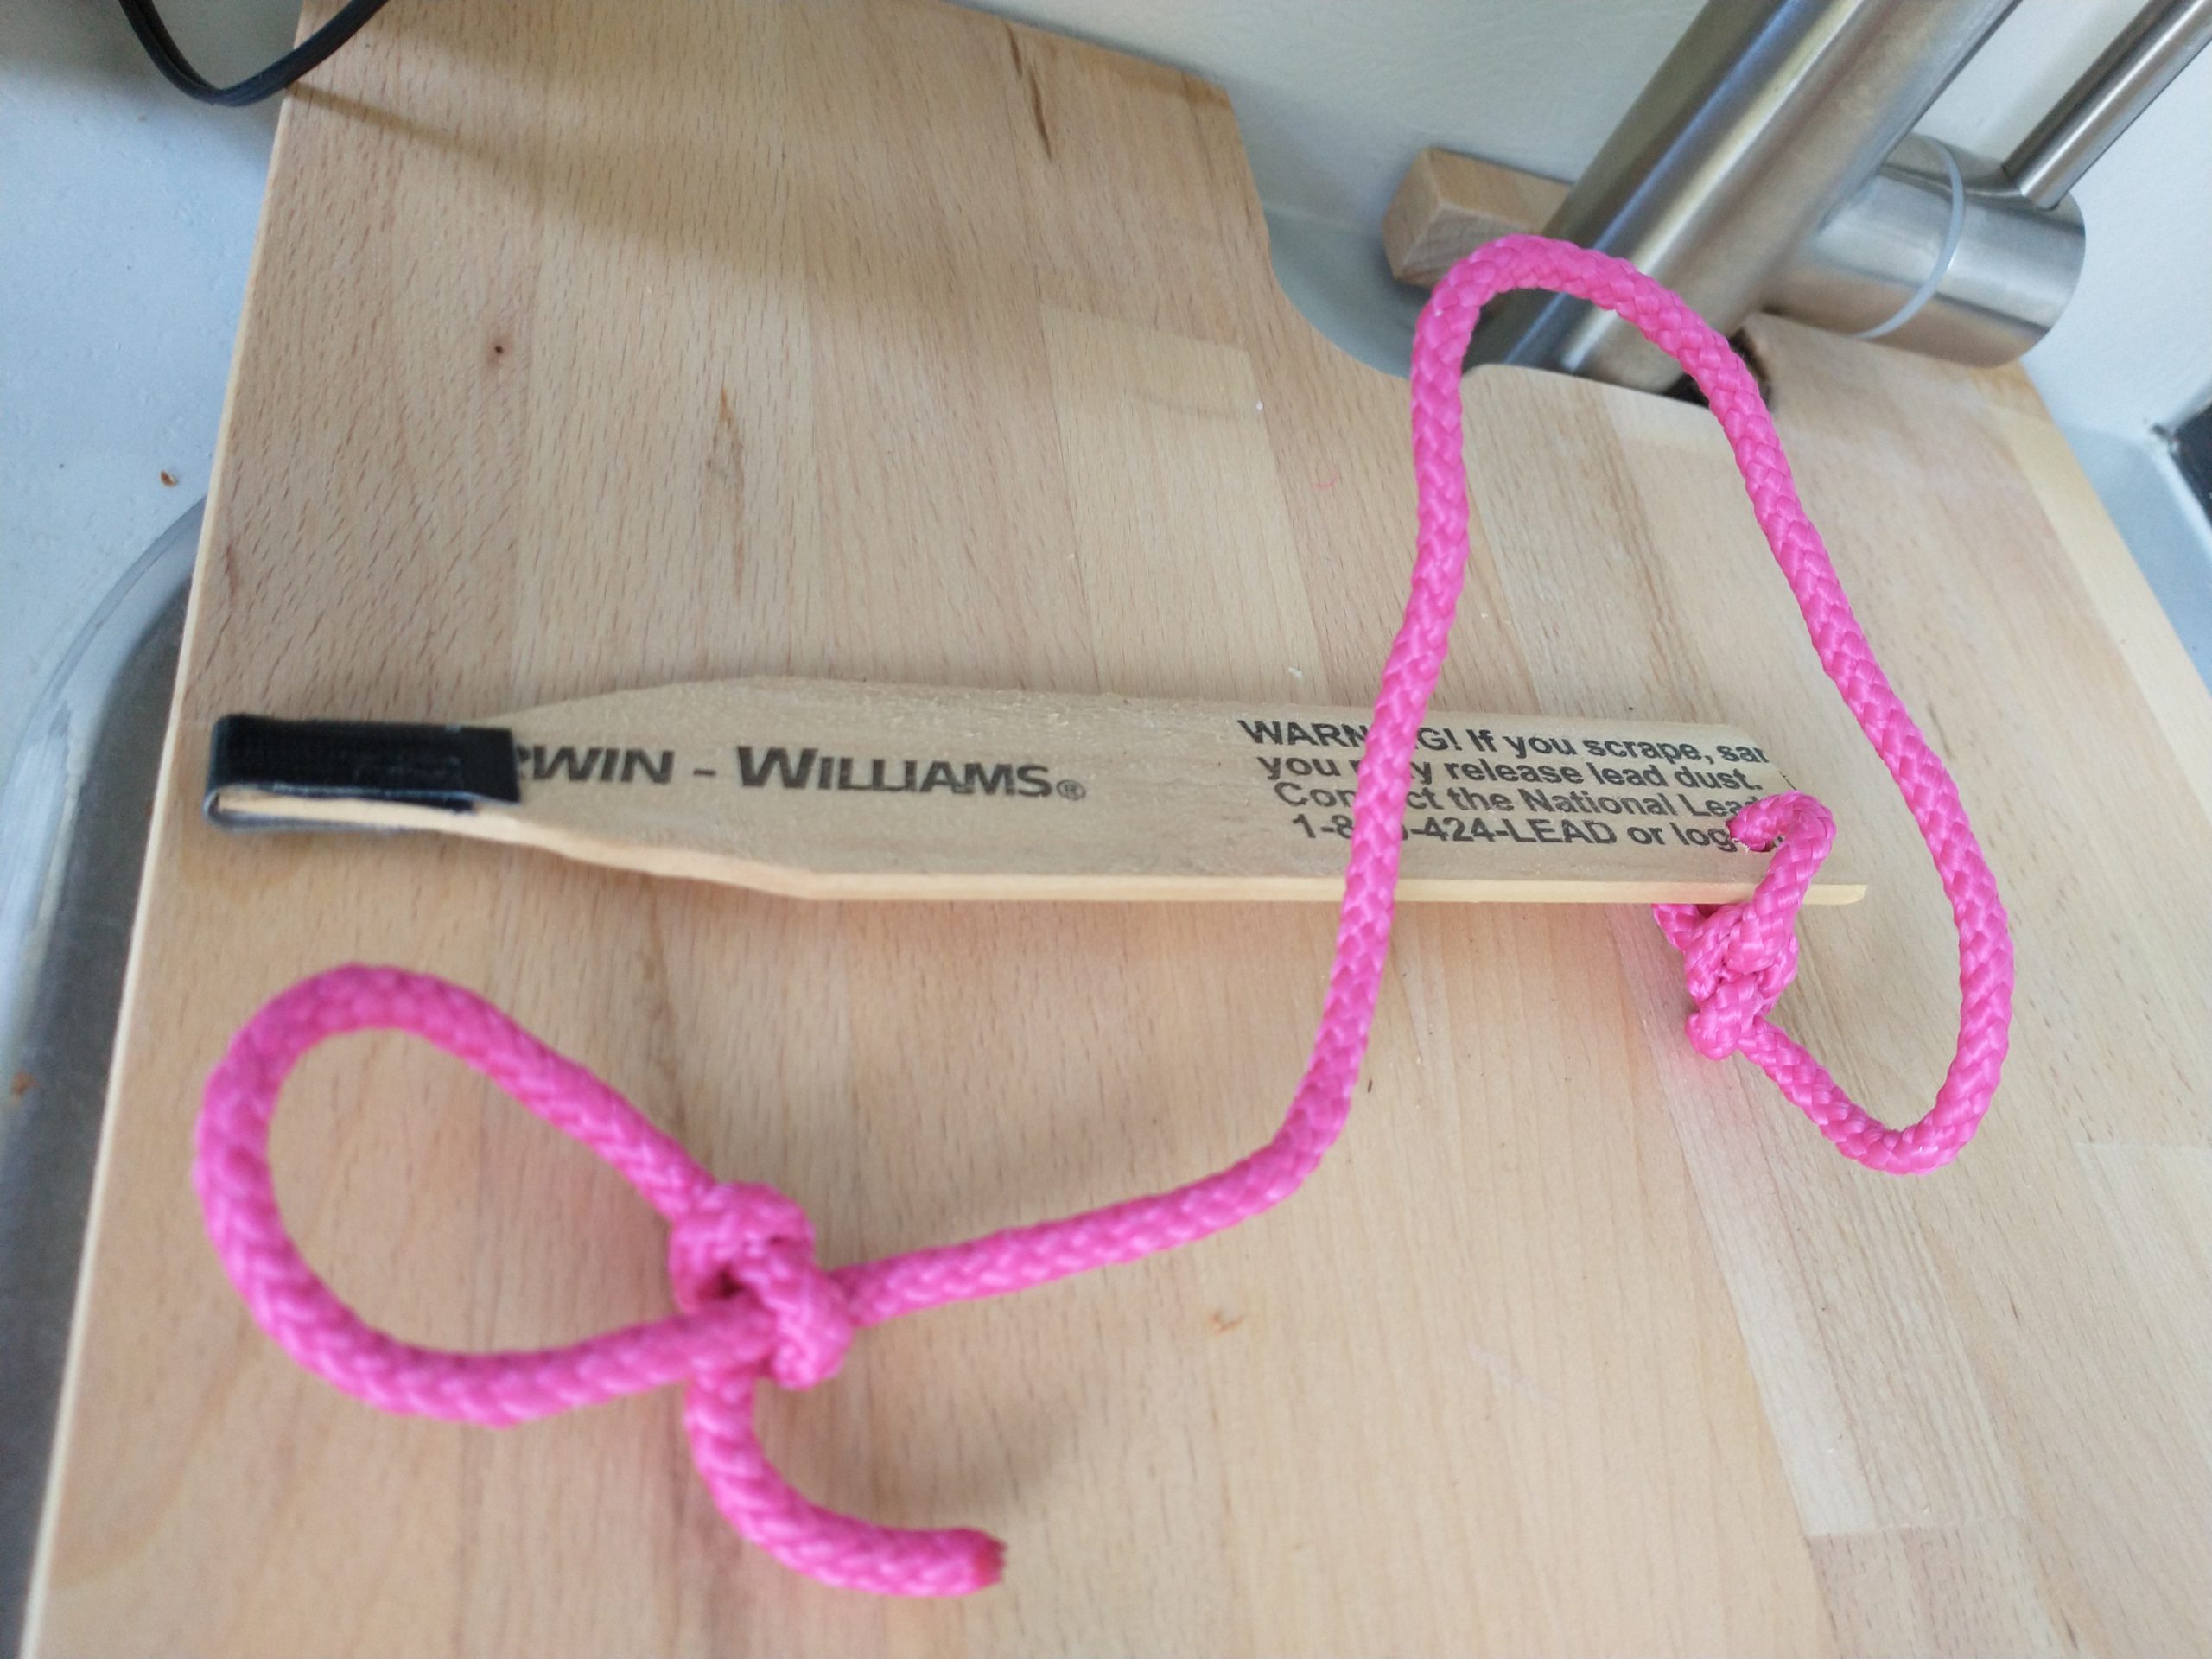
This works well with two caveats. First, if you happen to forget the stick is inserted in the switch and you close the hatch, you will have destroyed your switch – not good! And second, if you want to cook anything on the stove, you must remove the stick to reactivate the solenoid to allow propane to flow. Note: this solenoid activates whether or not you have your propane tank open. The solenoid is independent of the propane tank valve.
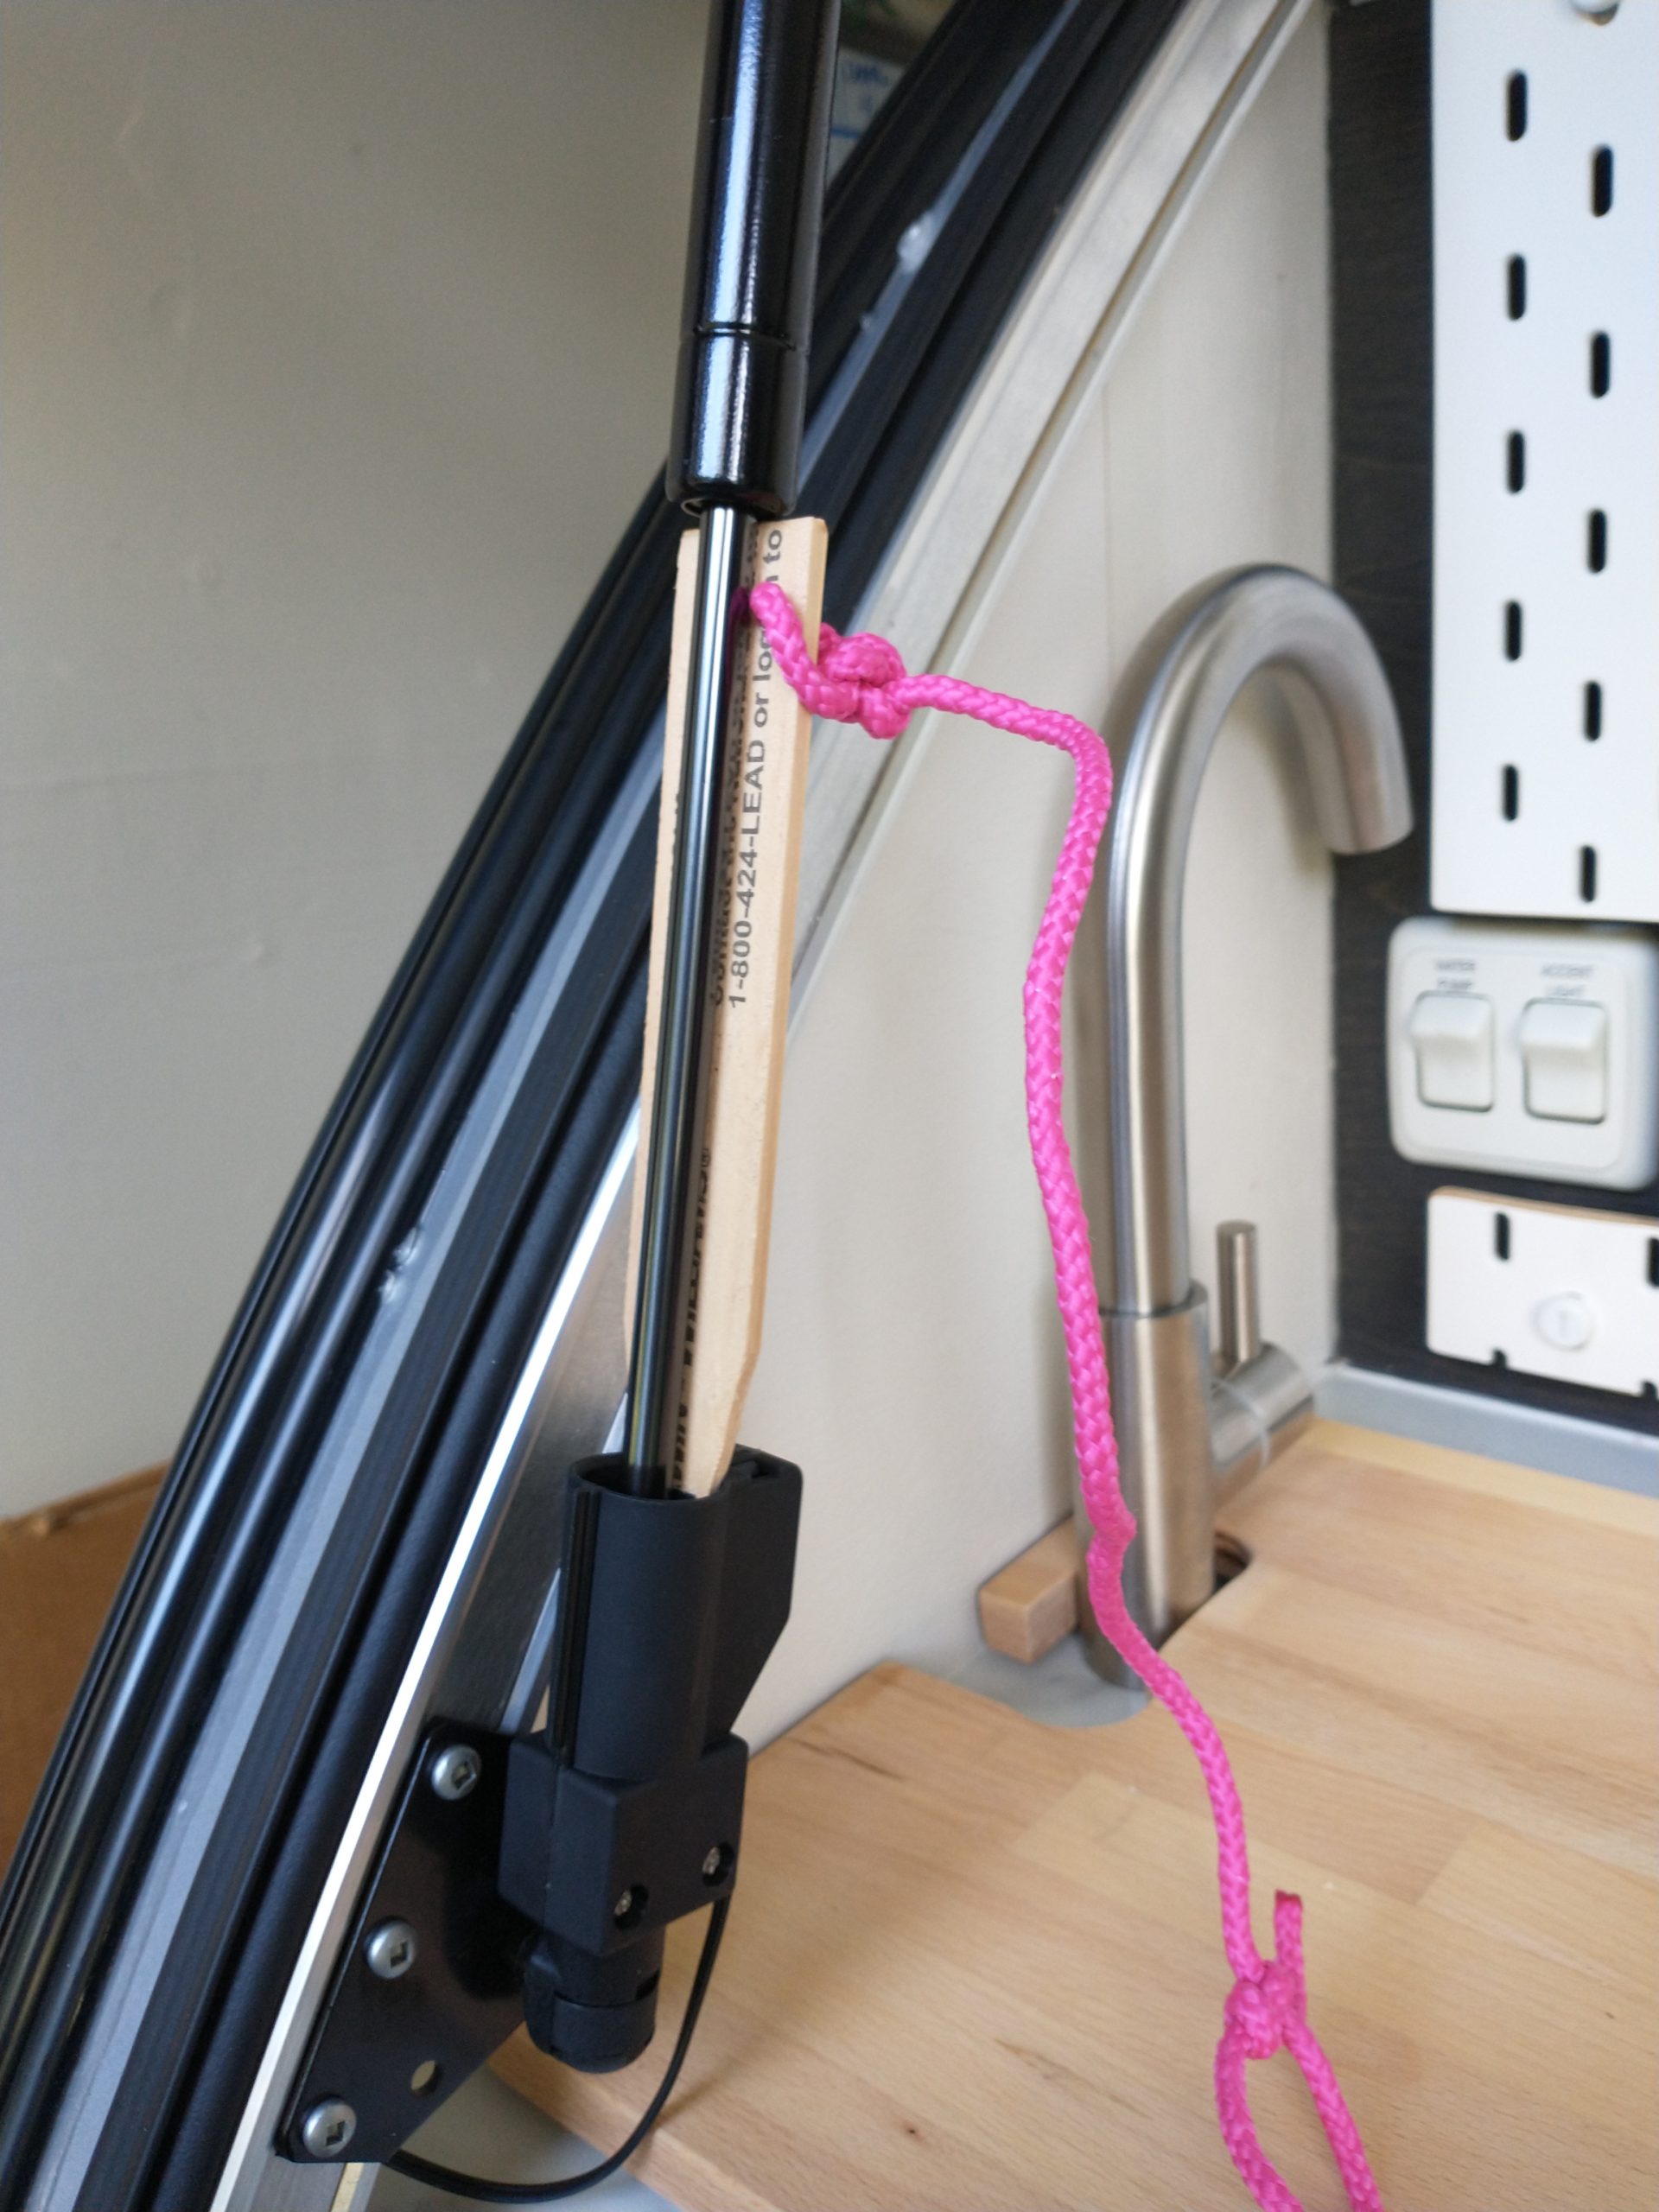
And notice my cute pink tether! That’s to remind you to remove it before closing the hatch…
**Patent Pending** – not really…
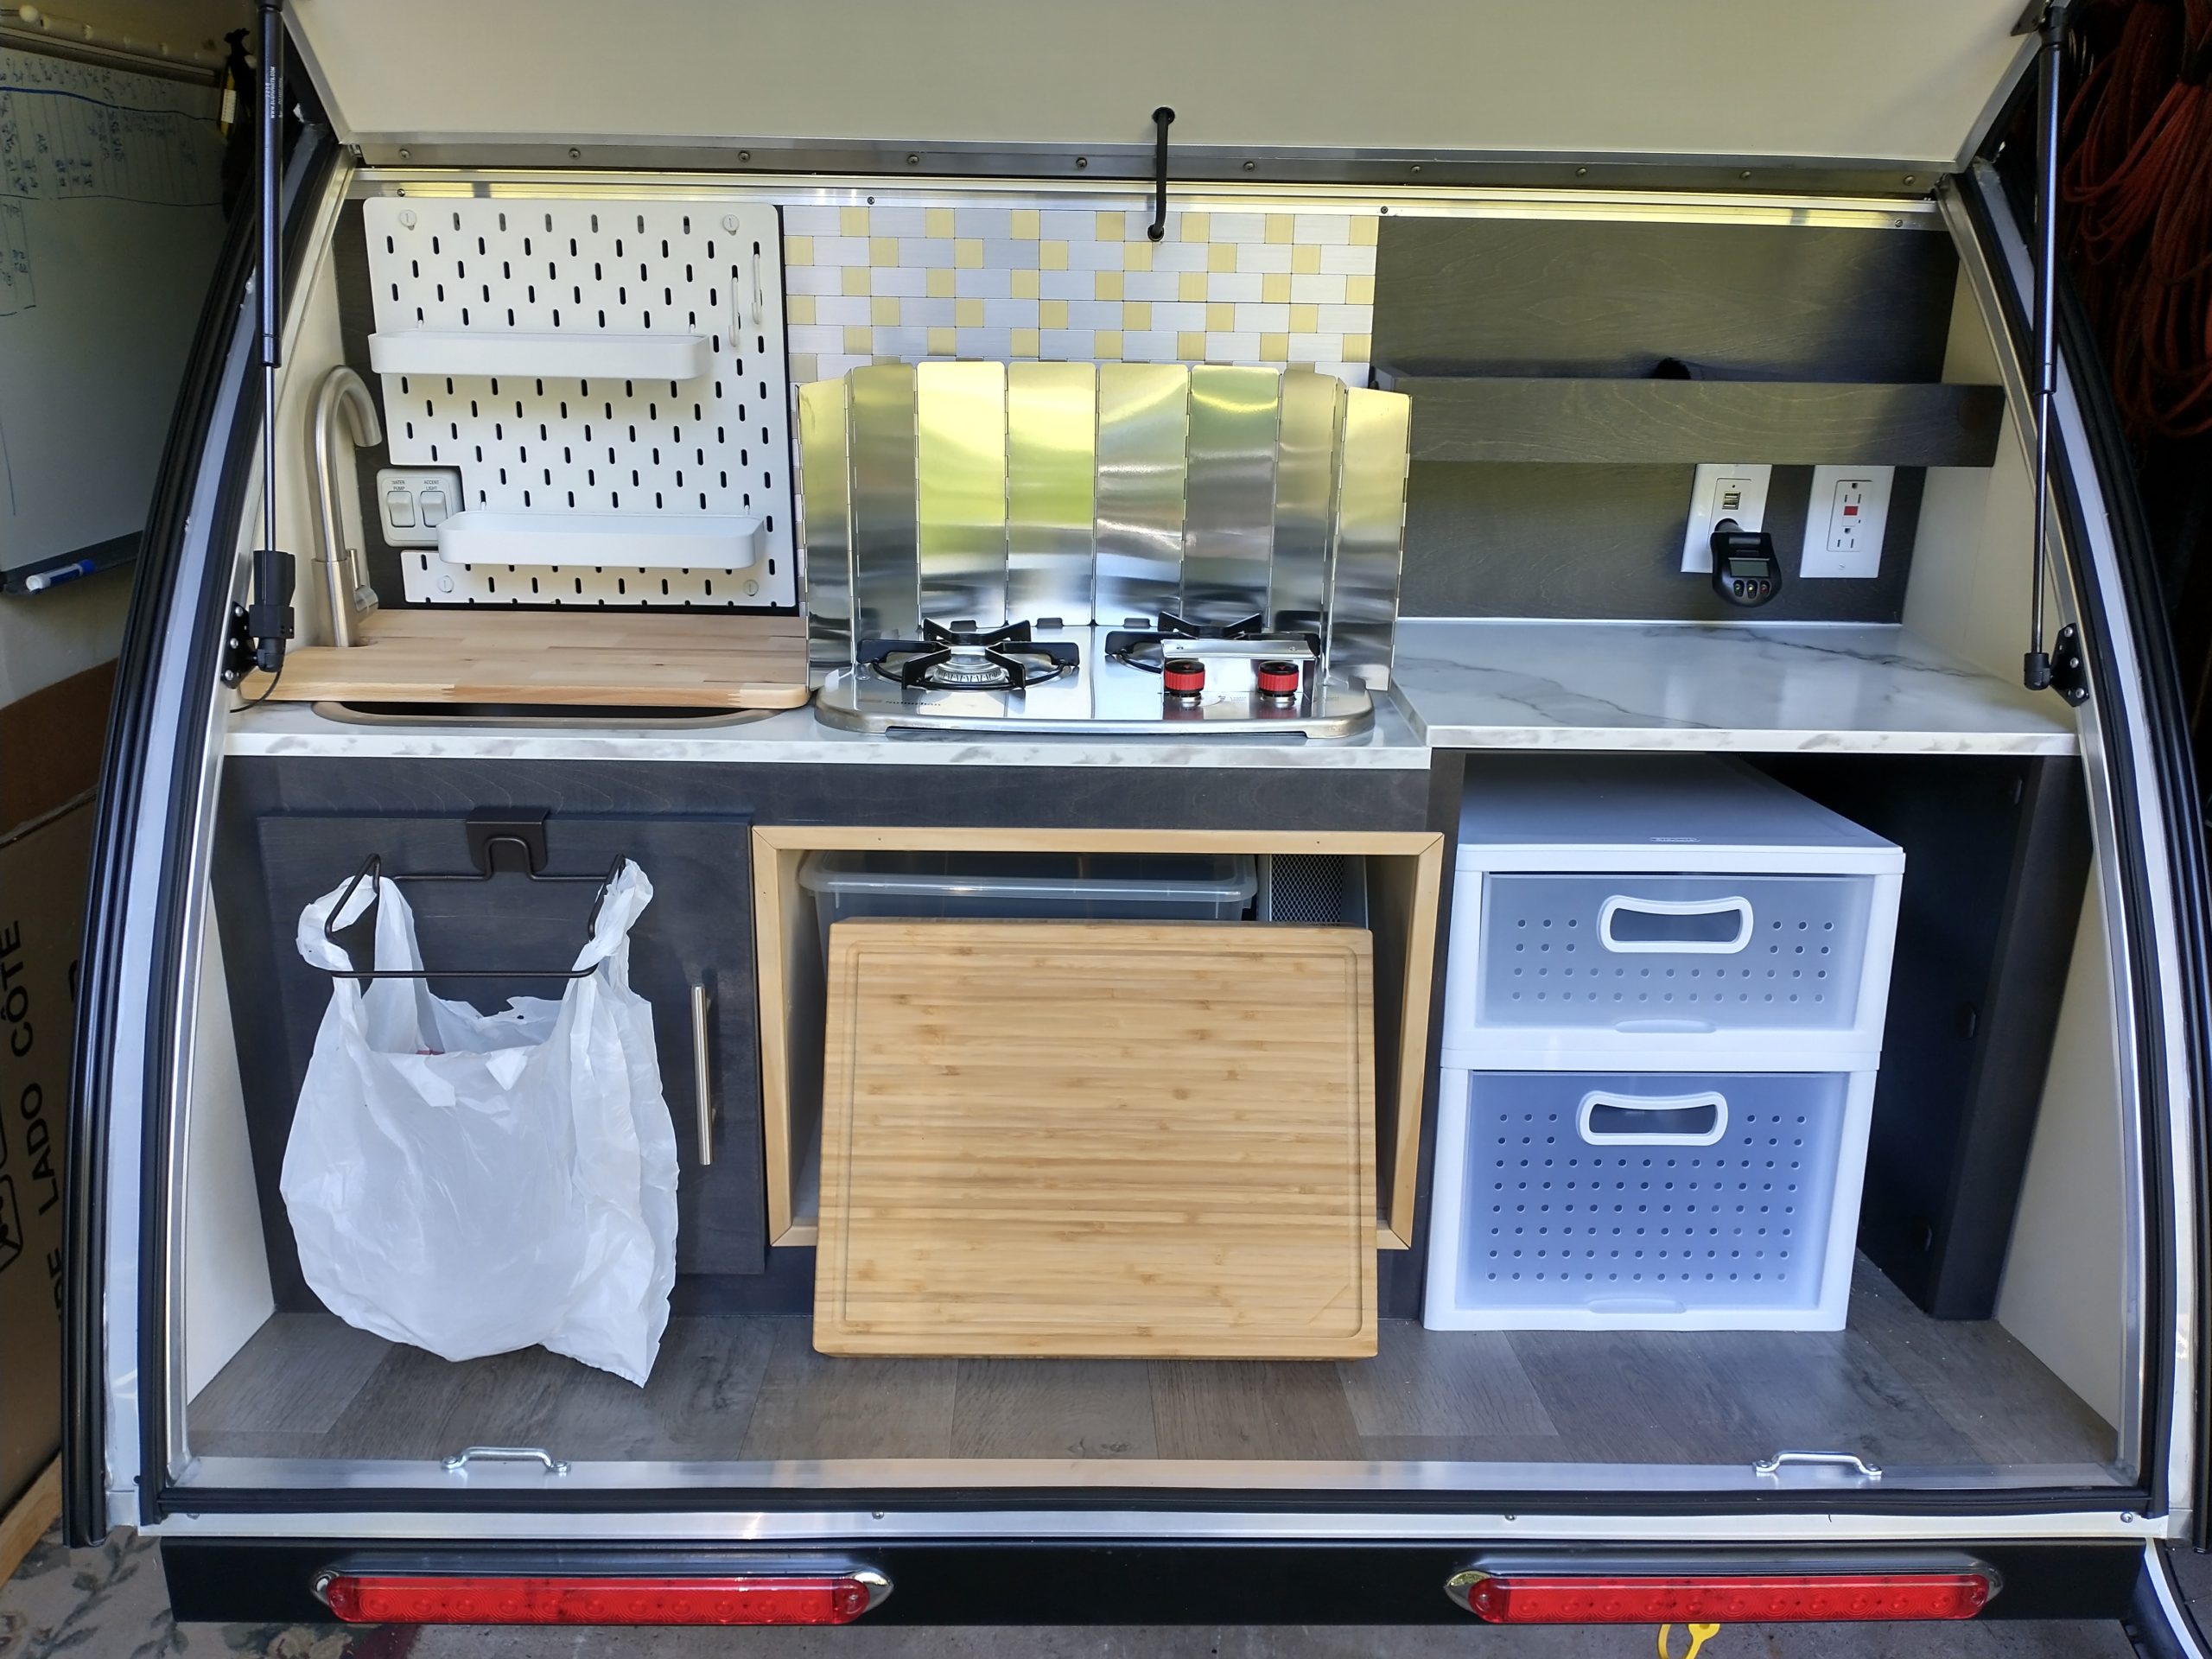
7 – Removed the microwave
The T@G comes with a built-in microwave, but we don’t use electric sites when camping so we removed it. Here’s a picture of the galley before the microwave was removed.
I finished the edges and now the space is used for storage, in addition to the storage area on the bottom right where some would keep their cooler. We don’t keep our cooler in the trailer. Here’s a picture of the galley with some of the modifications mentioned above, but most importantly, with the microwave gone.
8 – Protected the sharp edges on the galley hatch lid
There’s also a minor detail with the hatch lid corners. They’re very sharp, and if you are tall like me, you’re likely to run into the sharp corner, so we added soft silicone corners to soften the blow.
At the front of the trailer:
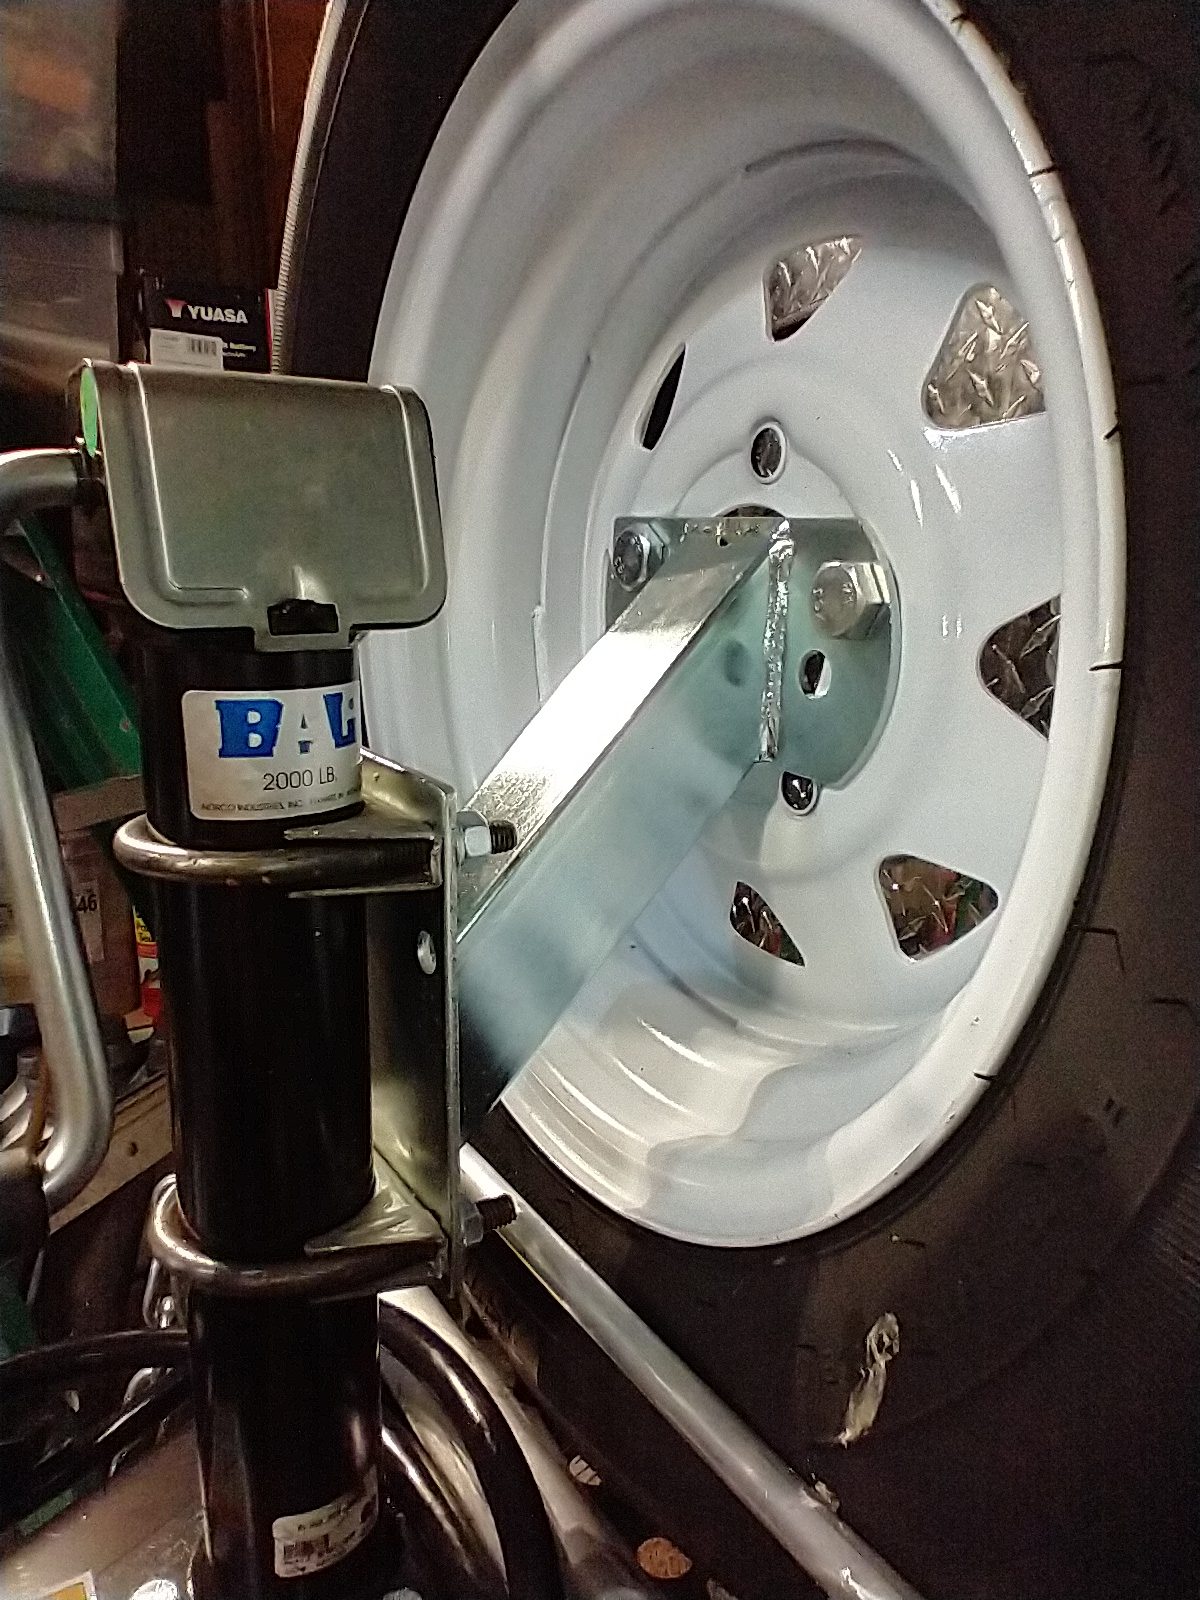
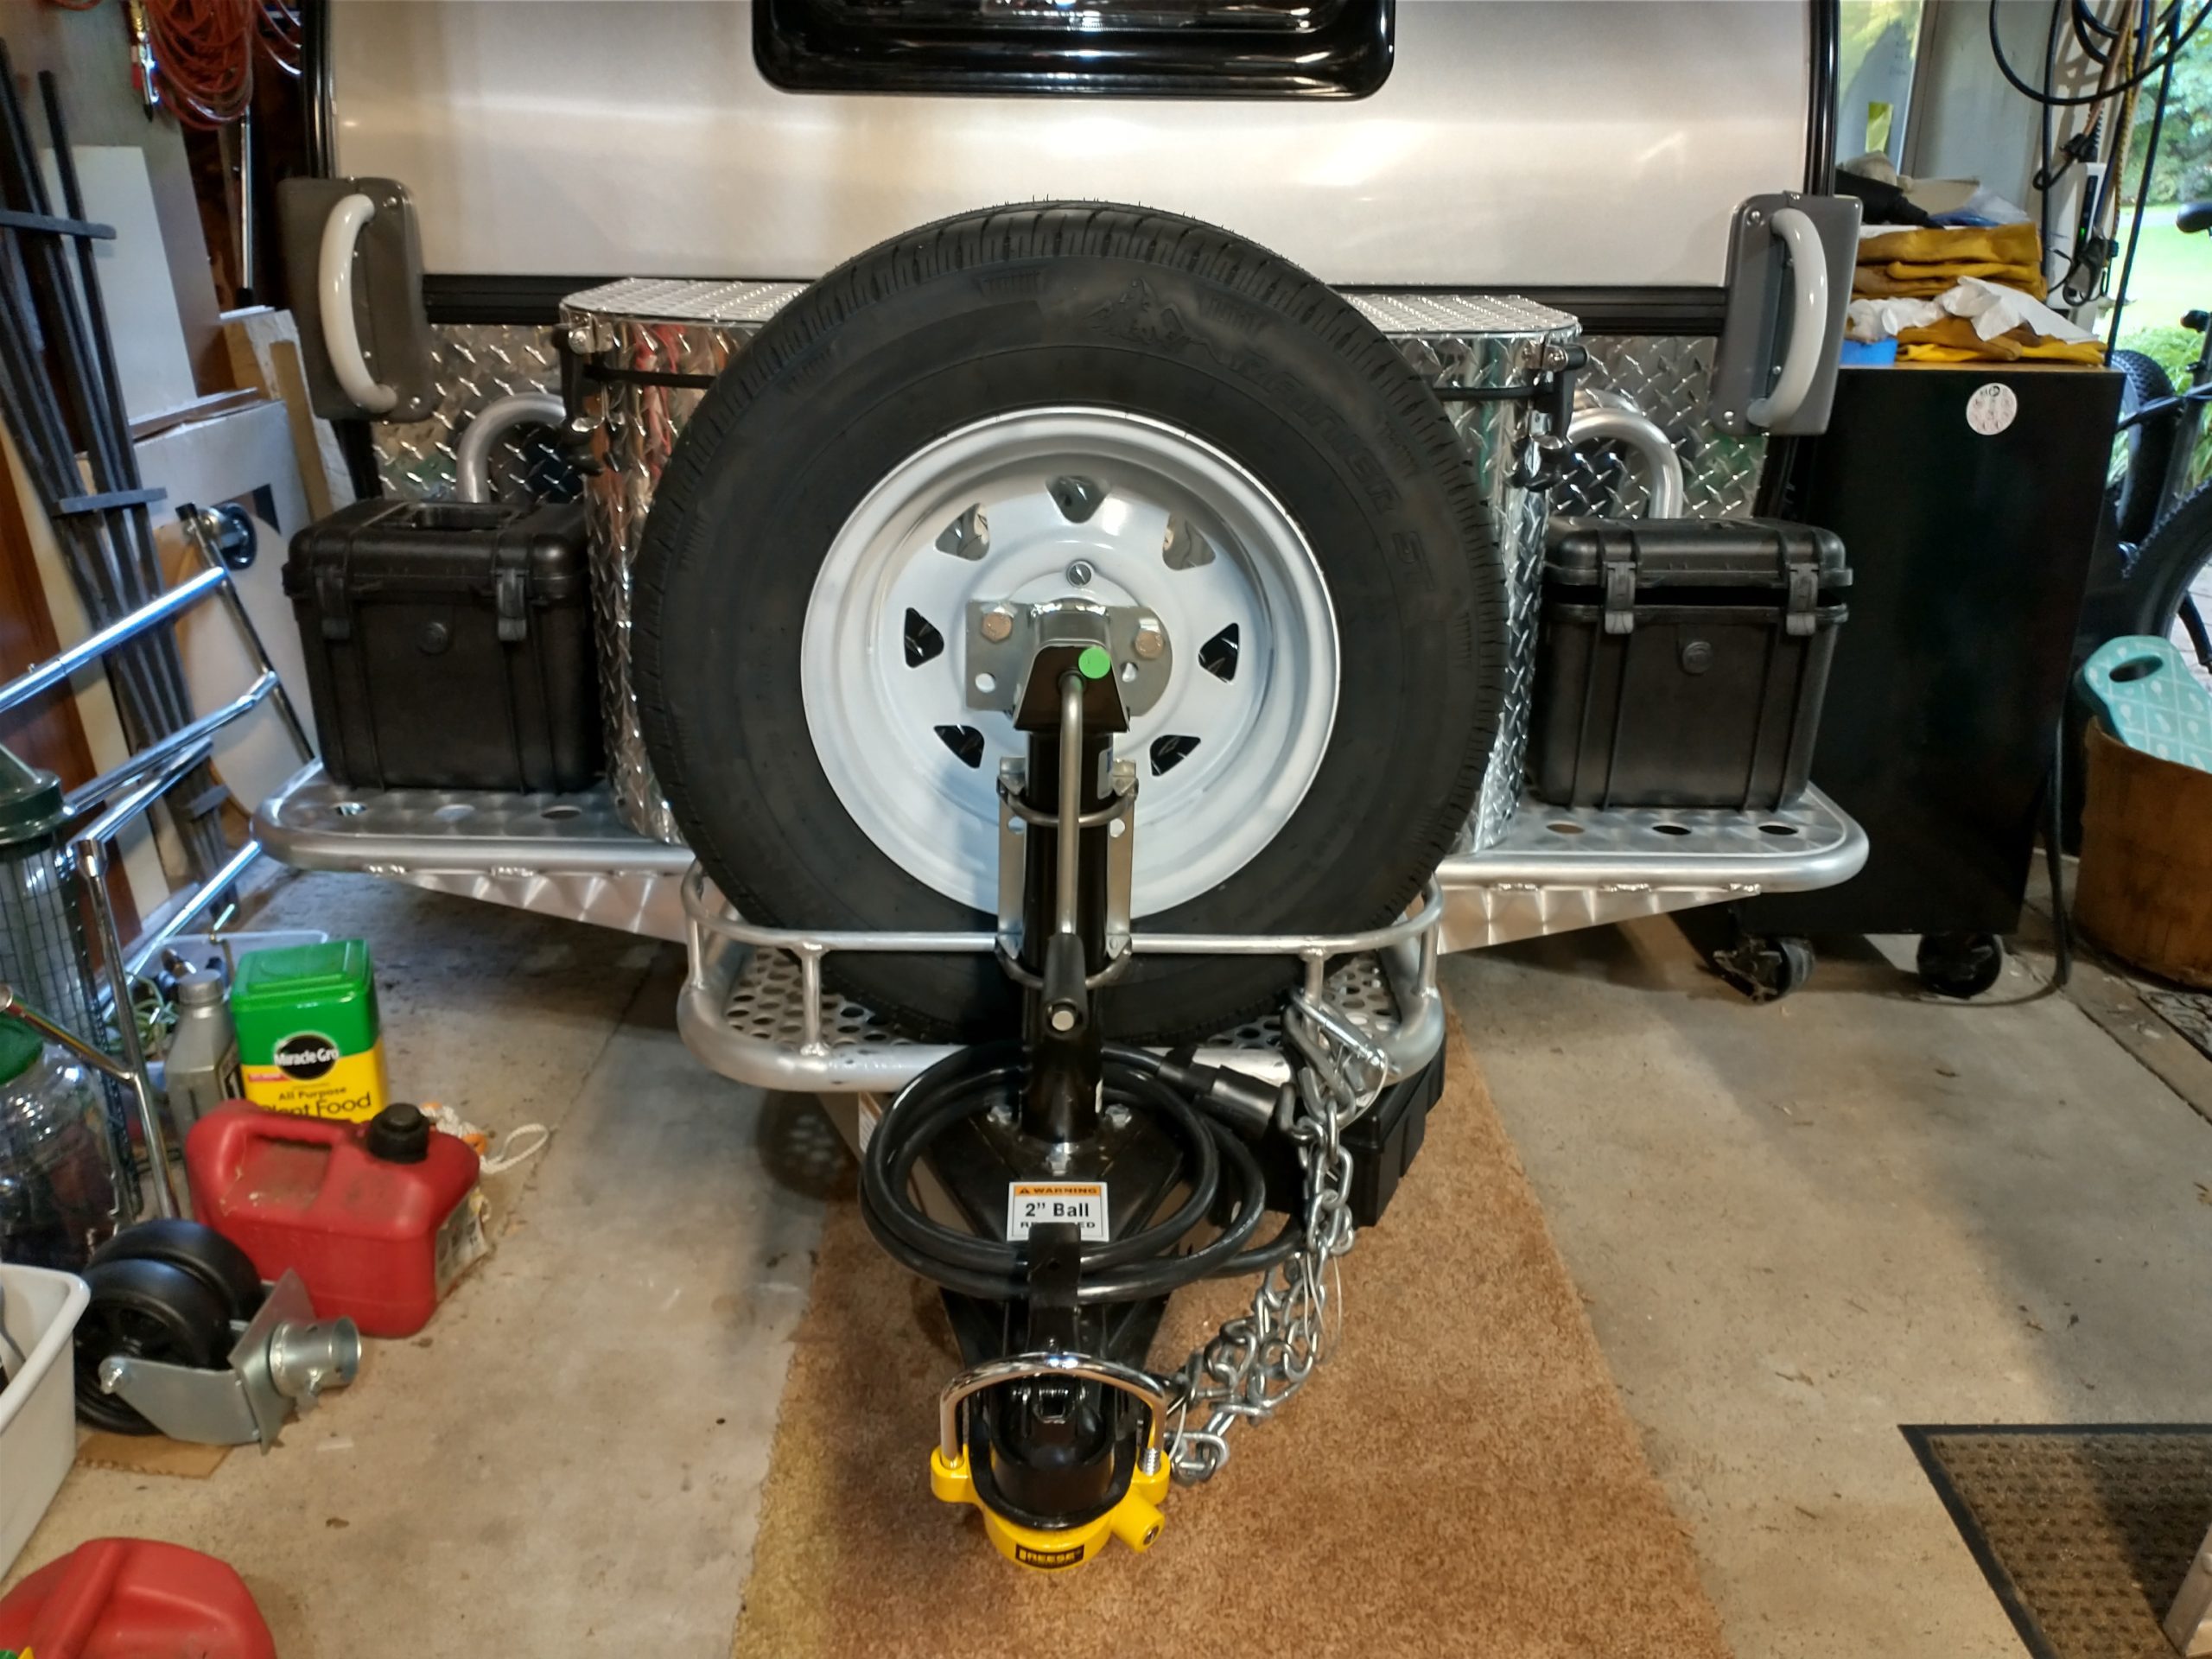
9 – We moved the spare tire from underneath the trailer to a front mount.
The Boondock version of the T@G has ample ground clearance to keep the spare underneath the trailer. The standard version does not. Any common speed bump will cause the spare to bottom out. The solution to this issue is to mount the spare to the jack tube using a BUNKER INDUST Spare Tire Carrier. You’ll also need to invest in a couple 2 1/4″ Heavy Duty Saddle Style U-Bolt Muffler Clamps from your local auto parts store to finish the job. Here’s the final result:
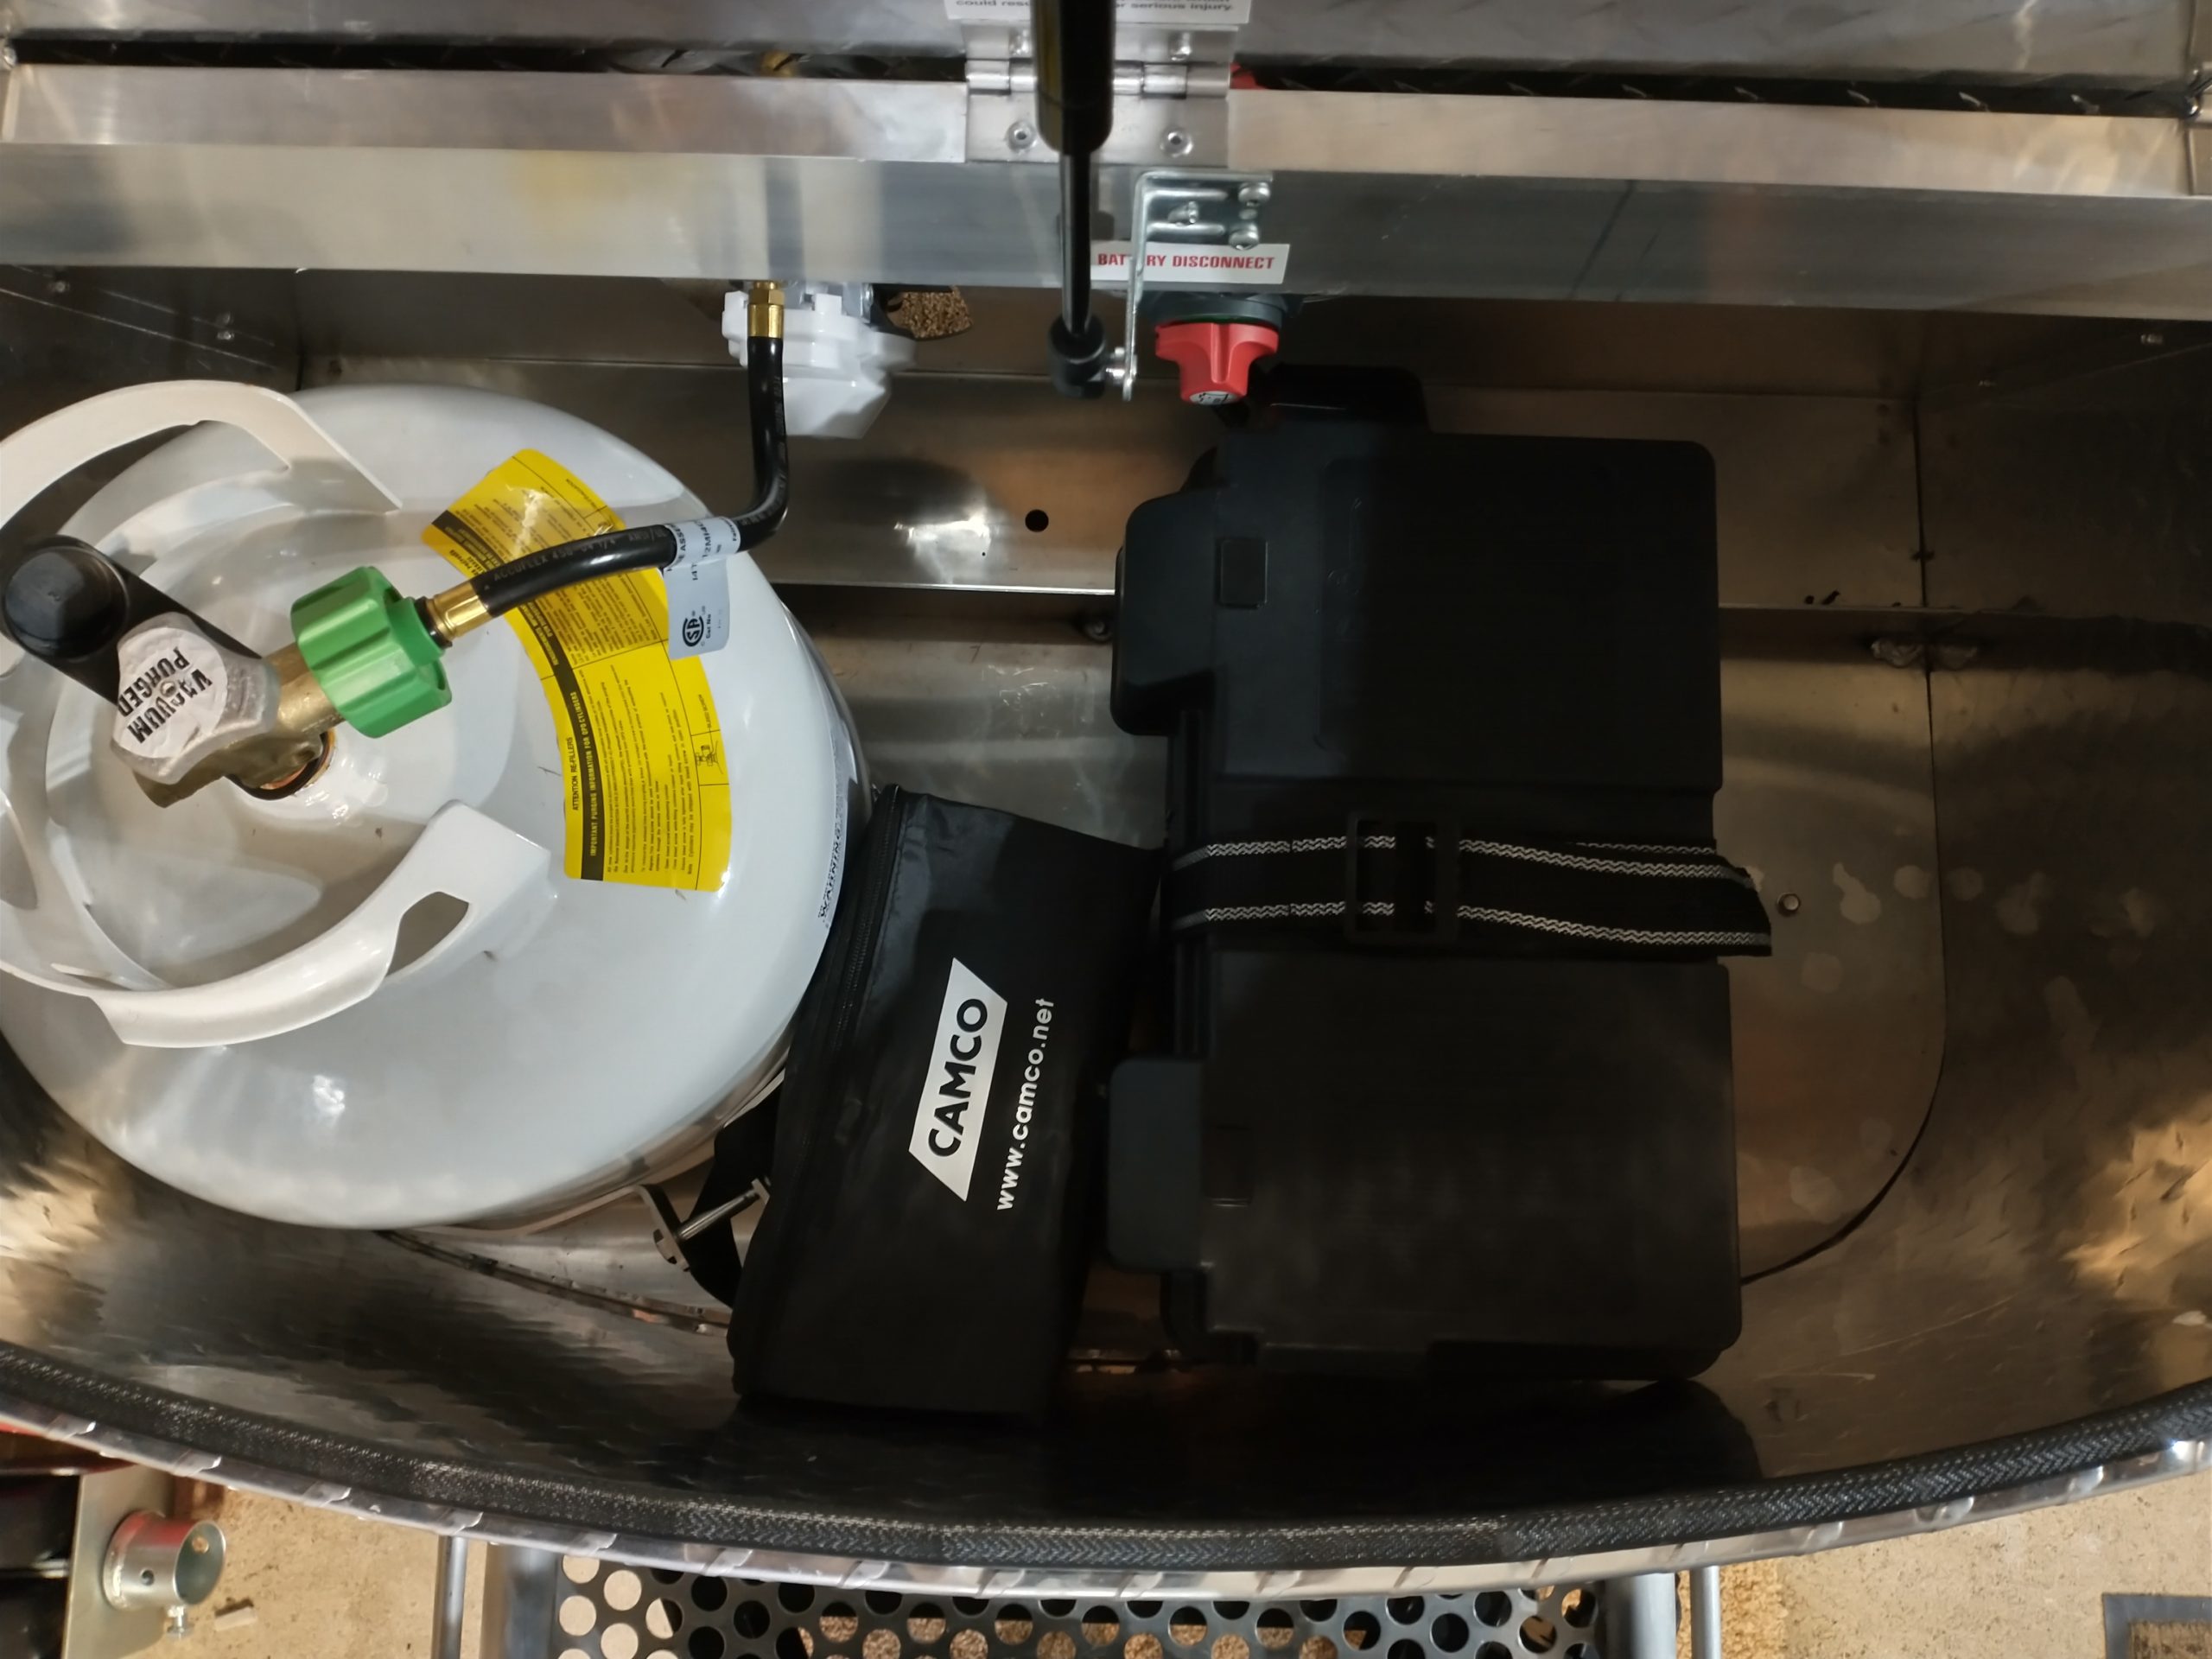
10 – I moved the battery box over to clear the battery switch and secured the box.
Another minor oversight was the position of the battery box (designed to hold the larger battery I selected) relative to the battery power switch. In its original location, the battery box interfered with the switch. I moved the battery box a few inches to the driver’s side of the utility box, and used this incredible VELCRO Brand Extreme Outdoor Heavy Duty Tape to keep the box from sliding around. This is a must, otherwise your battery box is sliding all over the place. Now there’s room in there for leveling blocks and wheel chocks.
11 – Added a remote controlled brake system.
The T@G comes with electric brakes. The unit I installed to connect the Subaru to the trailer’s brake system was the Tekonsha 902502 Prodigy RF, Plug & Play Trailer Mounted Proportional Brake Controller for Trailers with 1-3 Axles. This brake system was easy to install and is a good solution for this trailer. This isn’t a great picture, but it shows where I chose to install the Tekonsha unit.
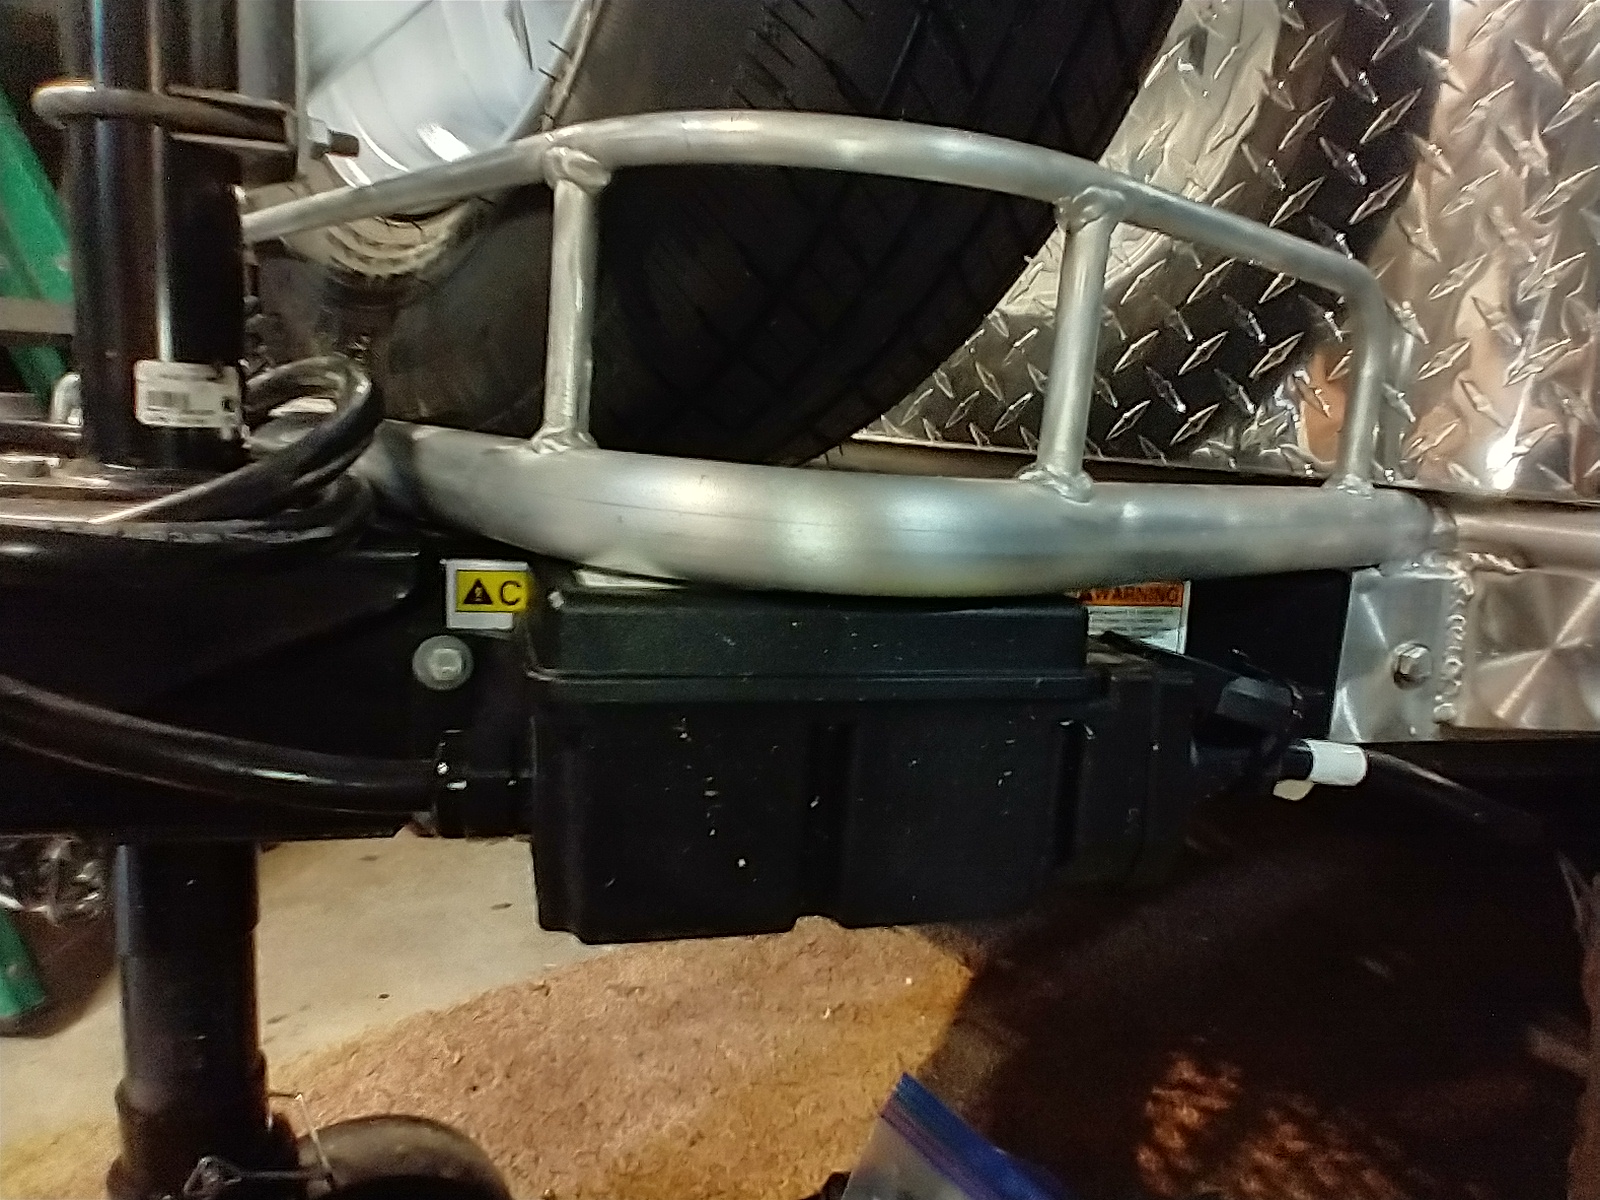
12 – Added storage boxes to both sides of the utility platform.
And as every teardrop camper owner knows, you can never have too much storage space. To help in this department I added a couple inexpensive Monoprice Weatherproof/Shockproof Hard Case boxes to the front utility rack. These are mostly for trailer parts, like this indispensable CURT 28272 Trailer Jack Foot, and for the jack wheel when the jack is up. The other box is used for rope, tent stakes, gloves, tools and such. These boxes are lockable and waterproof and do the job. This is what the front of our T@G looks like now:
13 – Replaced the stock roof vent and fan.
On a recent camping trip it was warm and we had a bit of rain, which we sat out inside the camper. With our Vistabule we could have the vents open and the Maxx Air 7500 MaxxFan open and running during the rain storm. Not so with the roof-mounted Fantastic Fan that comes standard with the T@G. So I removed the original fan and installed the Maxx Air fan and boy, what a difference it makes. This is the fan that Nucamp should be installing in all their campers. Take my word for it, it will be the best $325 upgrade you can do to your T@G – no question about it!
Here’s s a picture of the newly-installed Maxx Air in the closed position.
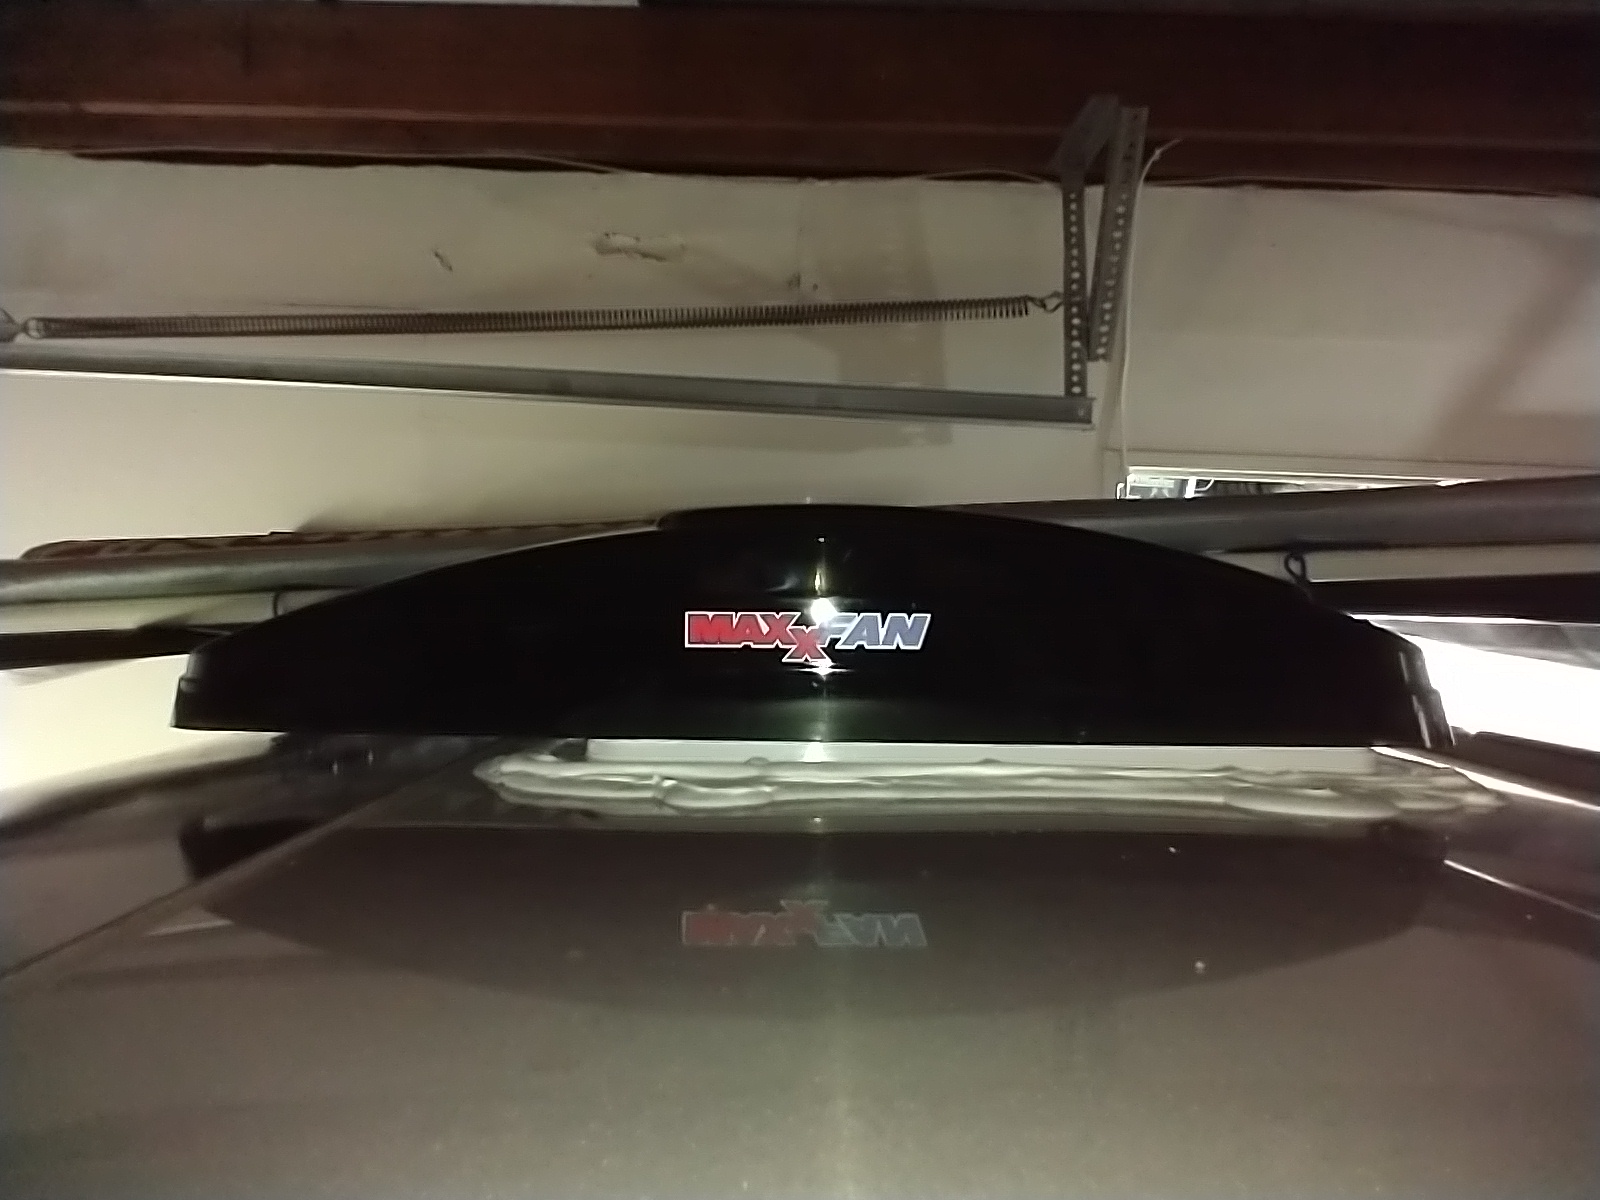
And in the open position. The overhang keeps the rain out while providing ventilation.

Versus the original Fan-Tastic Roof Vent:

Interior cabin
14 – We added a 2″ foam topper to the queen bed.
The mattresses this camper comes with are “RV firm,” so we added a Linenspa 2 Inch Gel Infused Memory Foam Mattress Topper and two Utopia Bedding Quilted Fitted Mattress Pads (Twin XL). The mattress topper was cut to the dimensions of each of the stock mattresses, then each mattress got its own mattress pad.
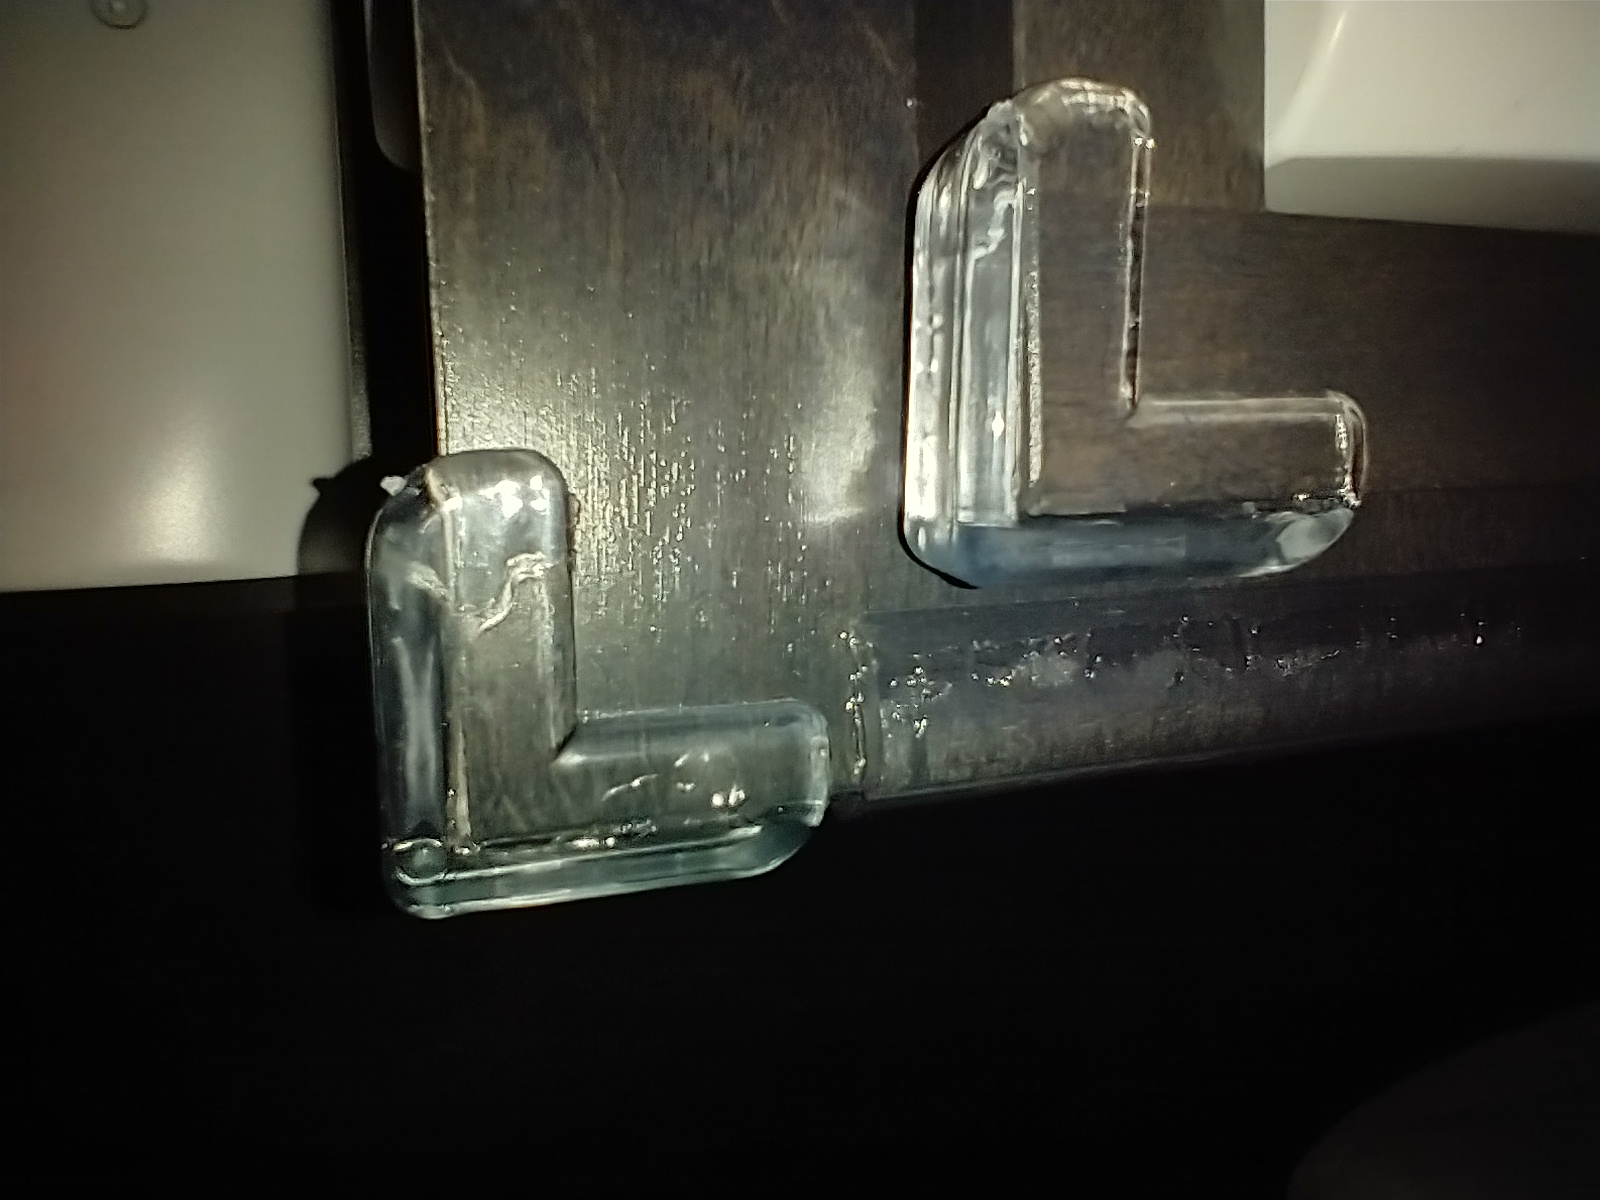
15 – We added silicone corner protectors to all sharp edges and corners.
There are also a lot of sharp cabinet corners in the T@G which we thought we would cushion with these corner protectors and edge guards. You only need to nail your head or feet on these corners and edges once to wish you had added these protectors. First for the head guards:
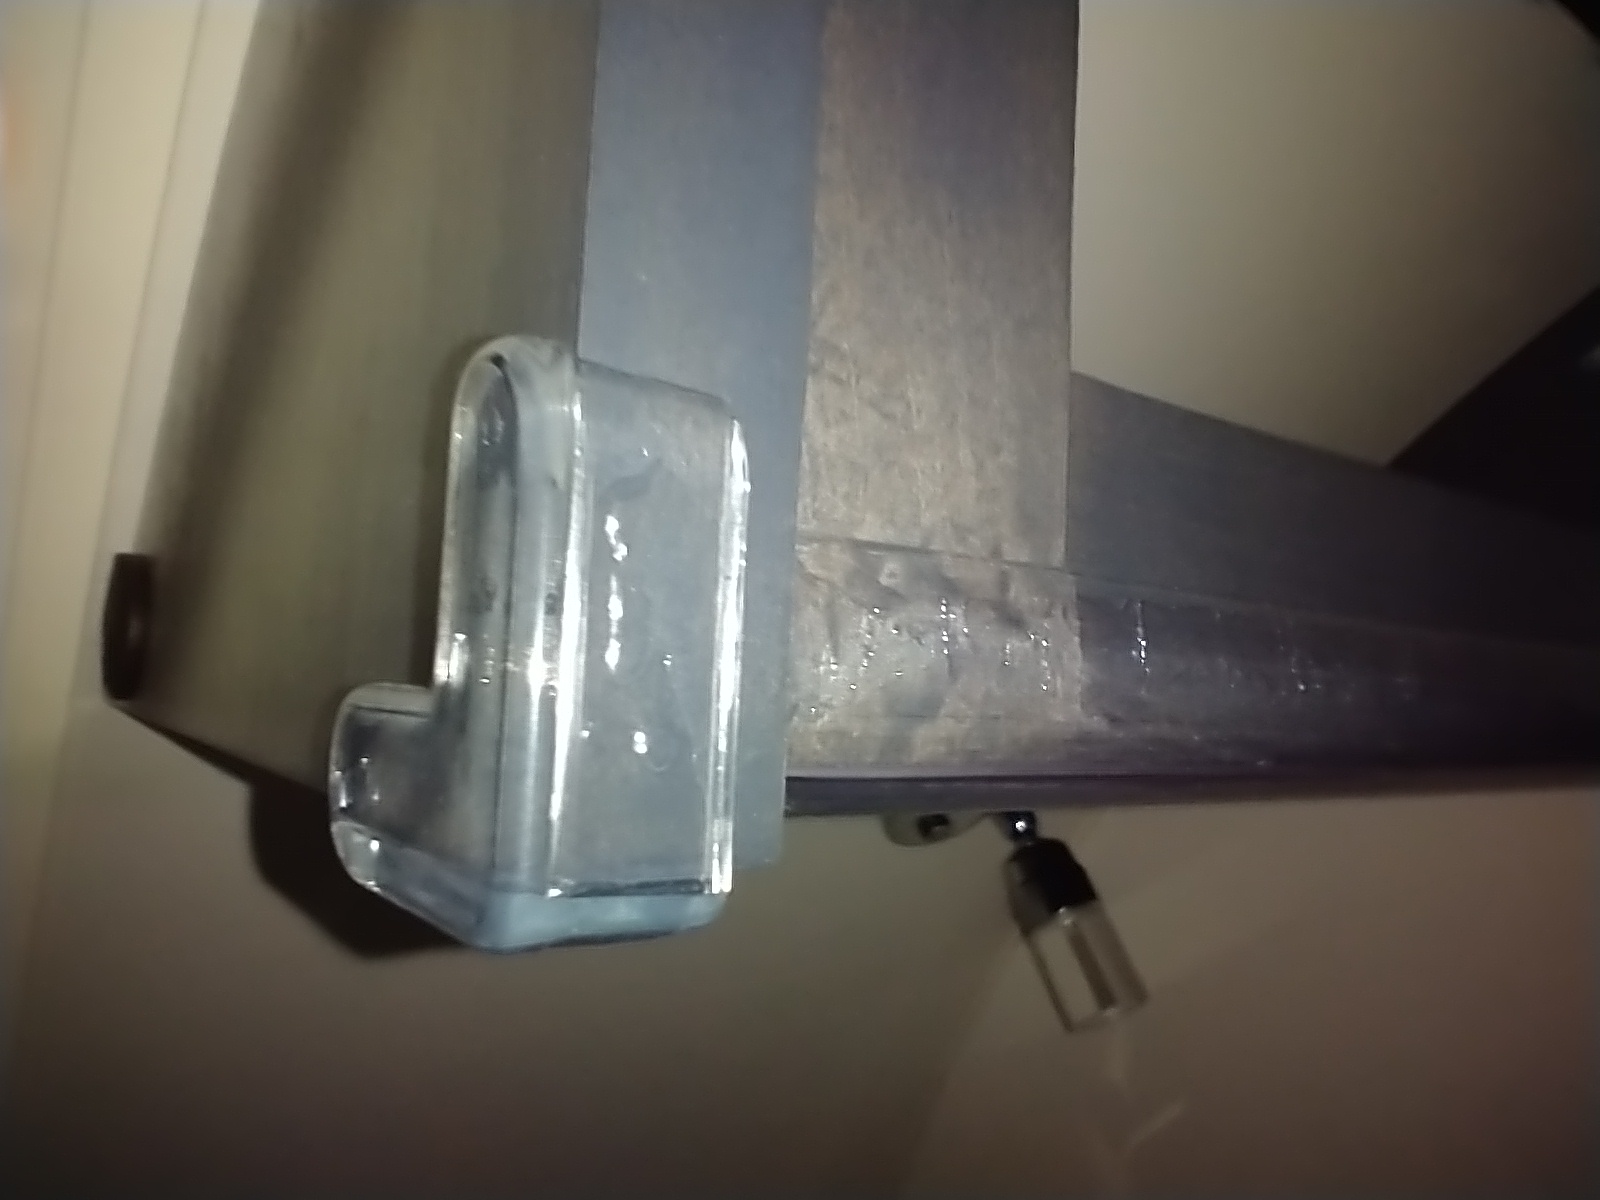
And then the foot guards:
16 – An outside addition I think is important when teardrop camping.
You really need some sort of tarp to protect one side of your camper in case of inclement weather. For this, I decided to go cheap and fashion something out of a heavy duty 6′ x 8′ tarp (color matched with the camper of course), some PVC pipe I had lying around, some poles, rope, and a clever adjustment system for my ropes. Since the T@G came with a roof rack, I had a place where I could secure the tarp. This system will go through some slight modifications over time, but has worked well so far.

I know what you’re thinking. “That’s going to become a swimming pool when it rains.” True, but I think all I need to do is drop a corner to solve that problem. We’ll see. This is a work in progress…
17 – I recently came to my attention that the set screws in the rear galley hatch latches could work loose, potentially allowing the hatch to open during transport. This did not happen to us, but upon inspection the set screw for the left latch was loose. Adding some medium or heavy-duty Loctite to the threads of the set screw should solve the problem. And if your set secrew has departed your latch already, just check the galley floor. It’s there someplace…

Sure, we could have used the T@G camper without any modifications whatsoever. But the changes we made helped improve the camping experience for us, and resolved several minor annoyances as mentioned above. For us, the T@G is a really good camper and it’s been fun to learn how other owners have customized theirs. Hopefully I was able to provide some useful information that will help if you’re considering a T@G teardrop yourself.
** Update **
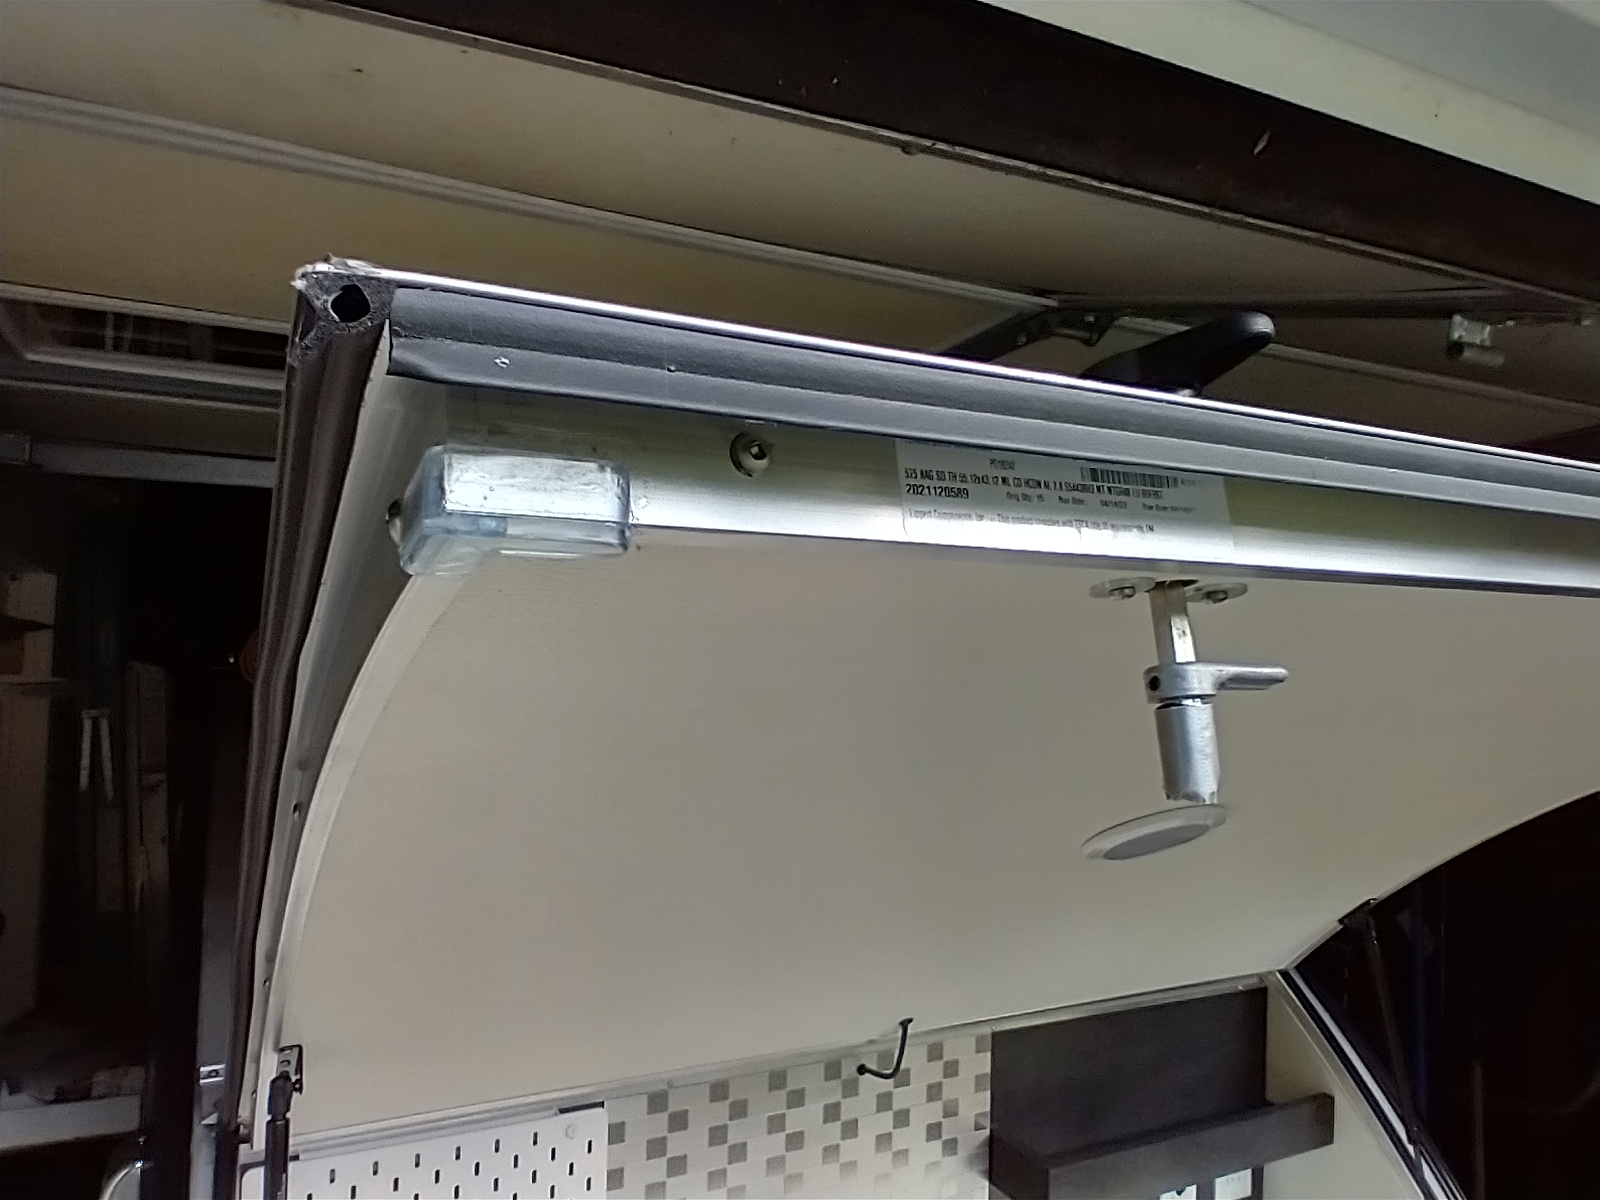
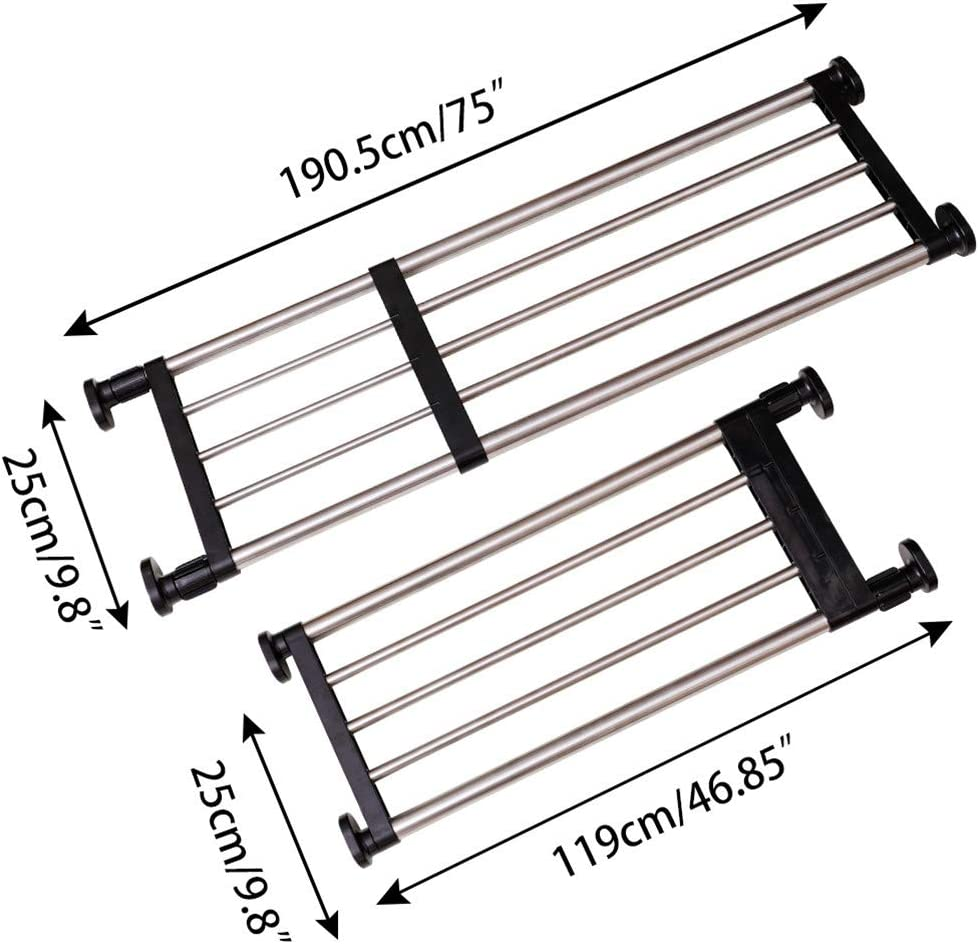
Oh, how we love our T@G! But there’s one little detail (maybe two*) we still had to resolve and that’s storage when one’s sleeping. So before our last camping adventure we invested in an over-head storage rack. This one:
Hershii Expandable Closet Tension Shelf Rod Adjustable Metal Storage Rack, Black, 75inch model ($43)
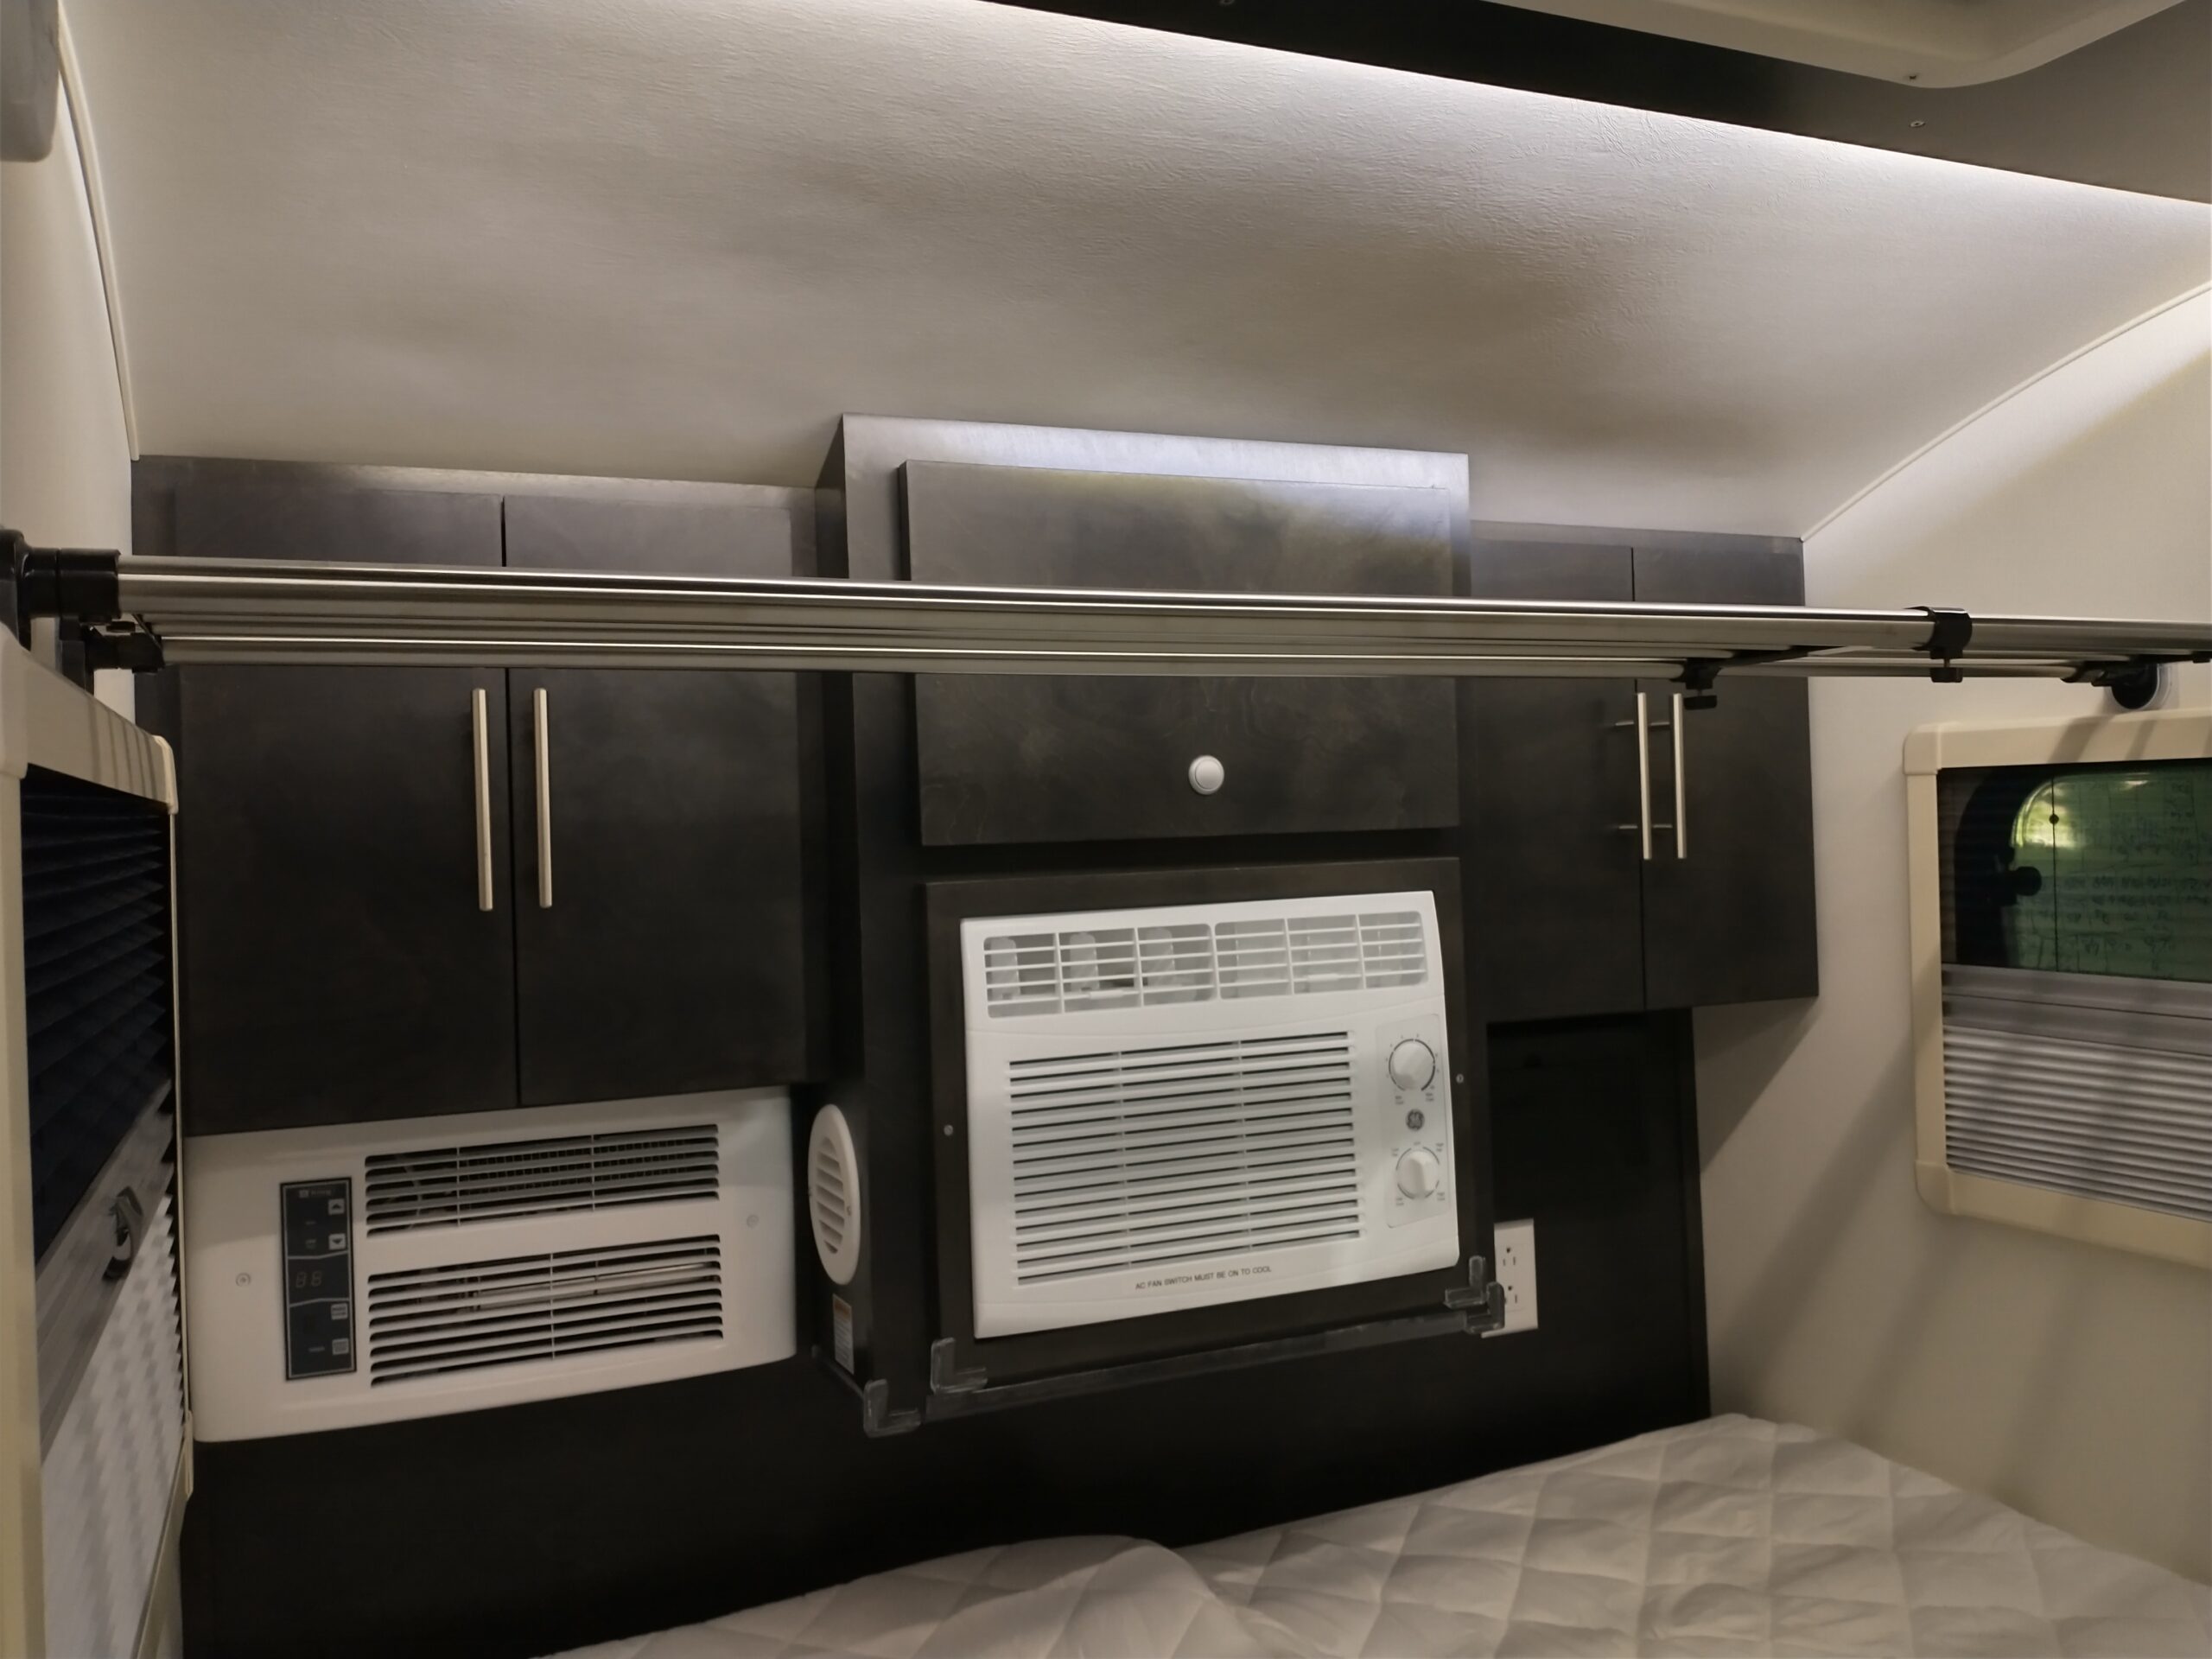
Here’s our installation:
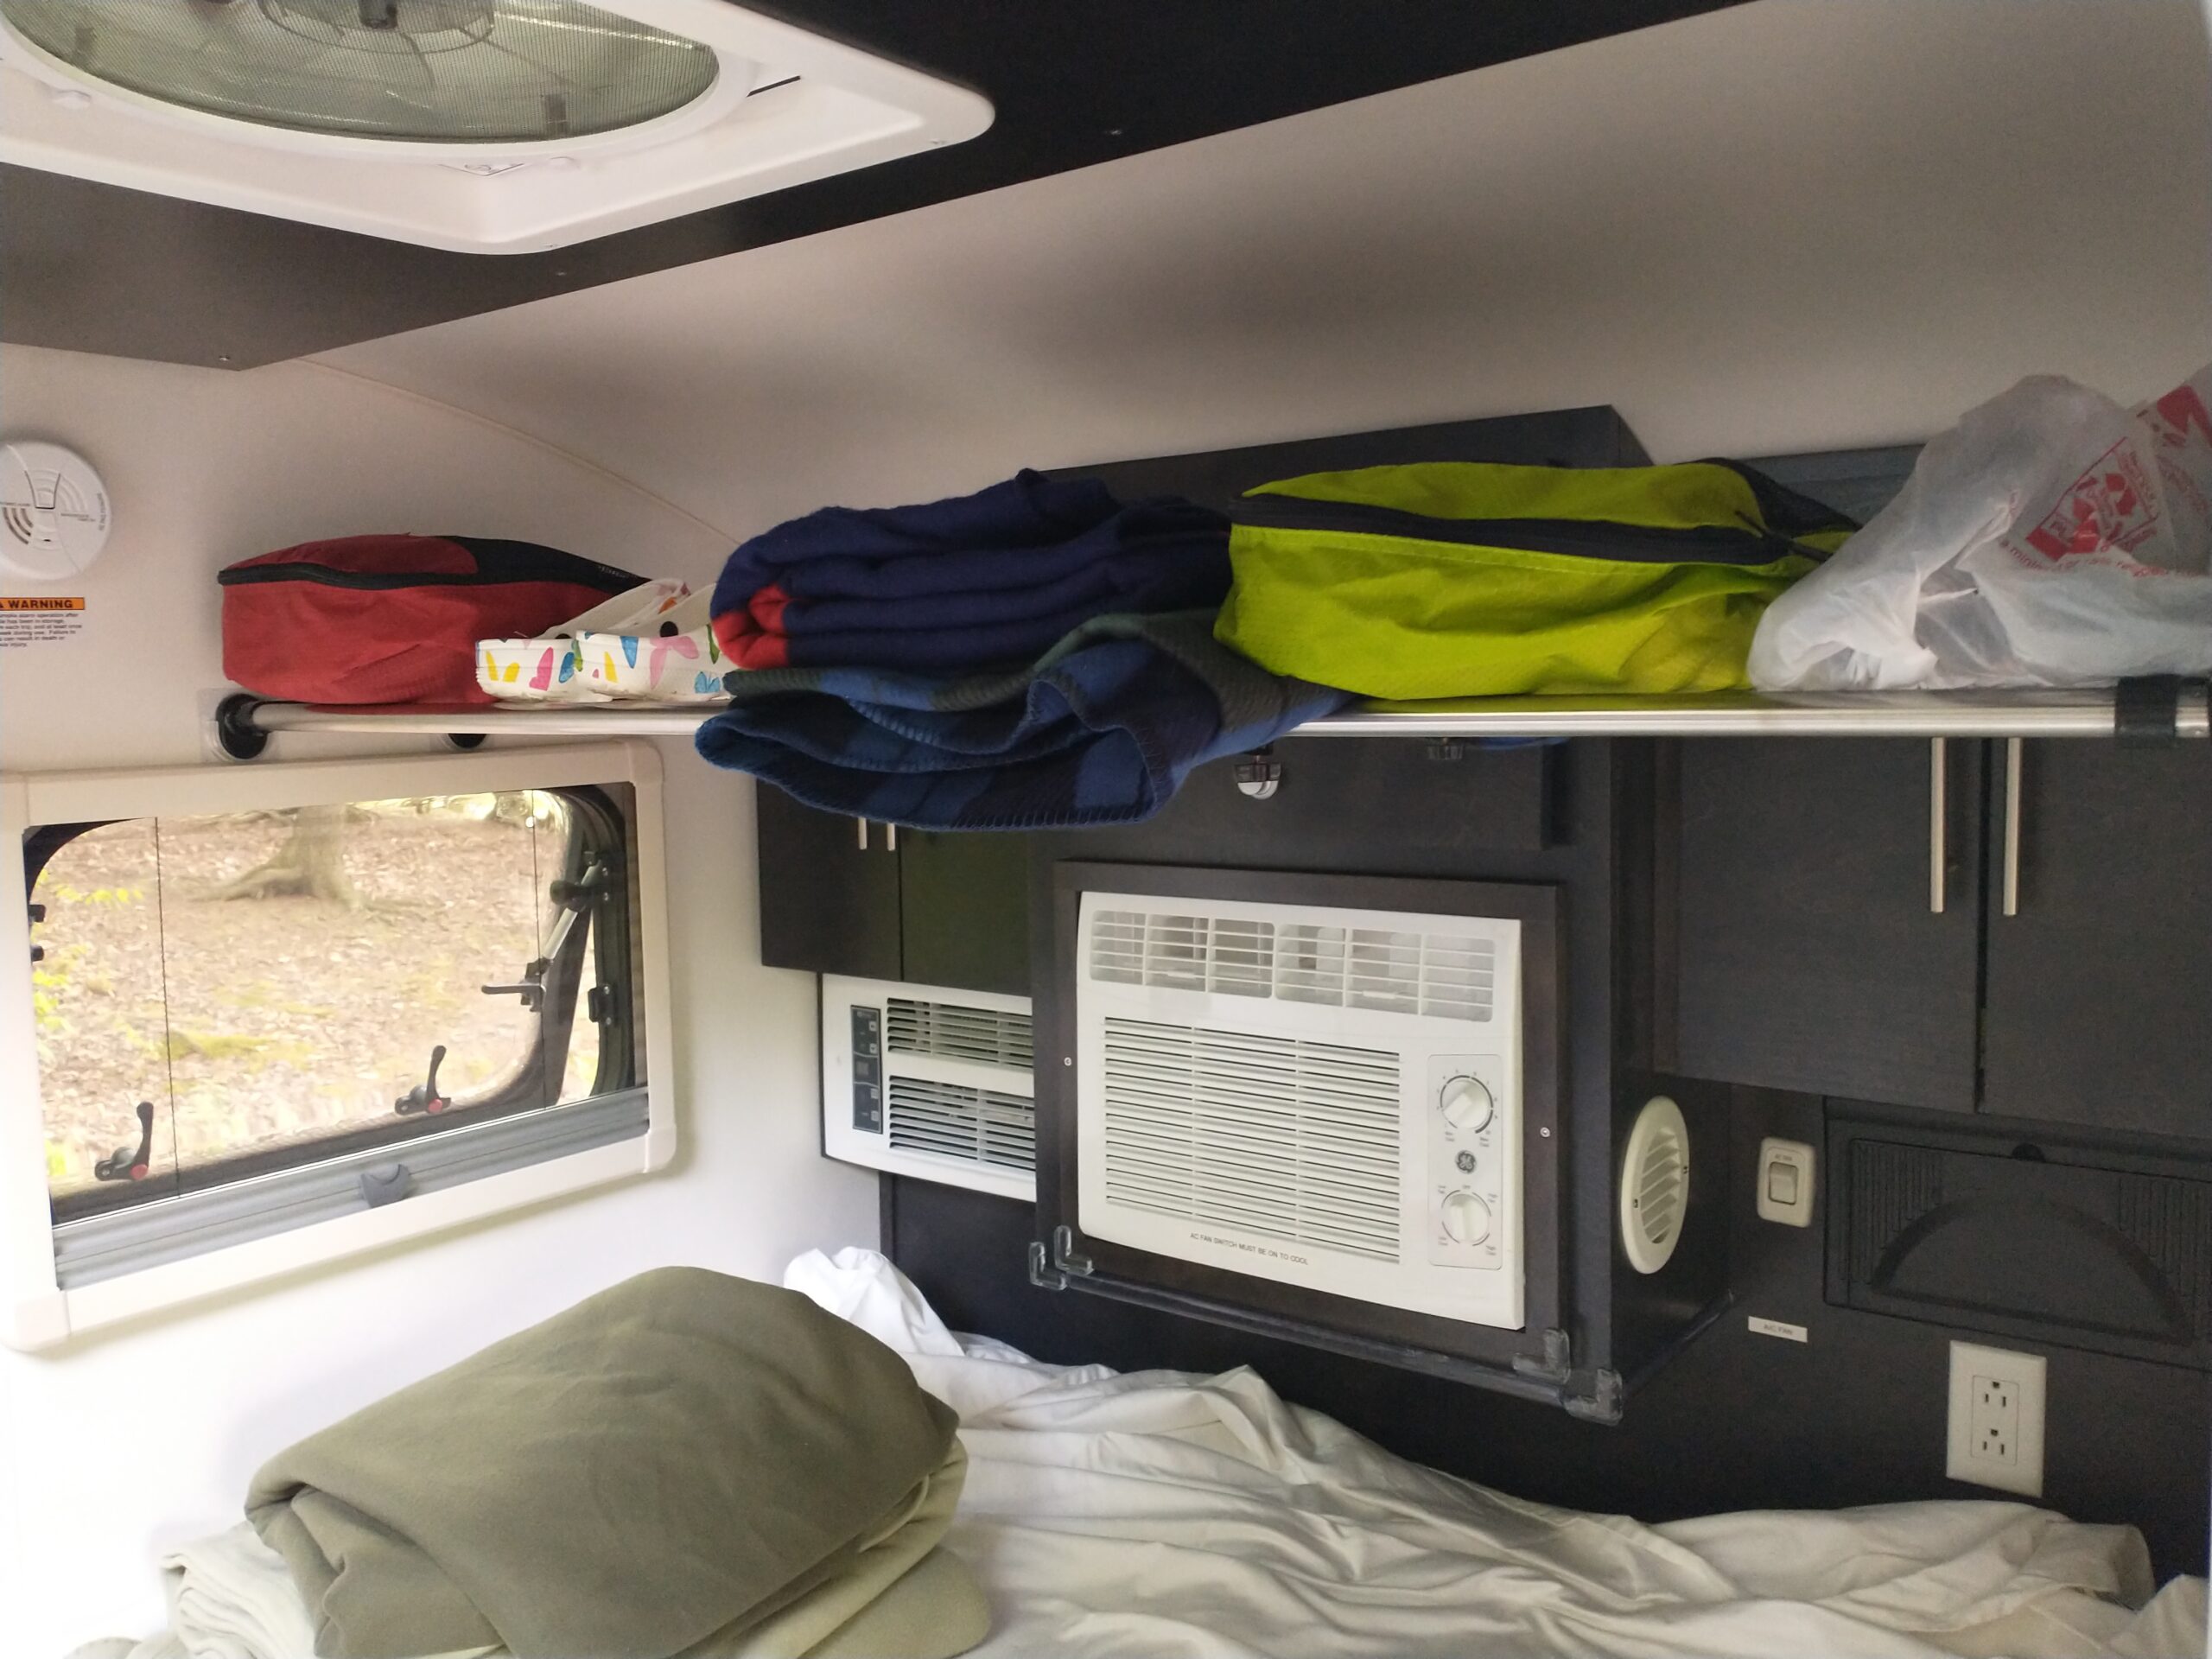
In action during our latest camping trip:
And here are a few more photos that are not so clear from the product description that help make this an ideal unit for this application:

Self-stick clear plastic stirrups are provided to support the shelf ends above the window frame.
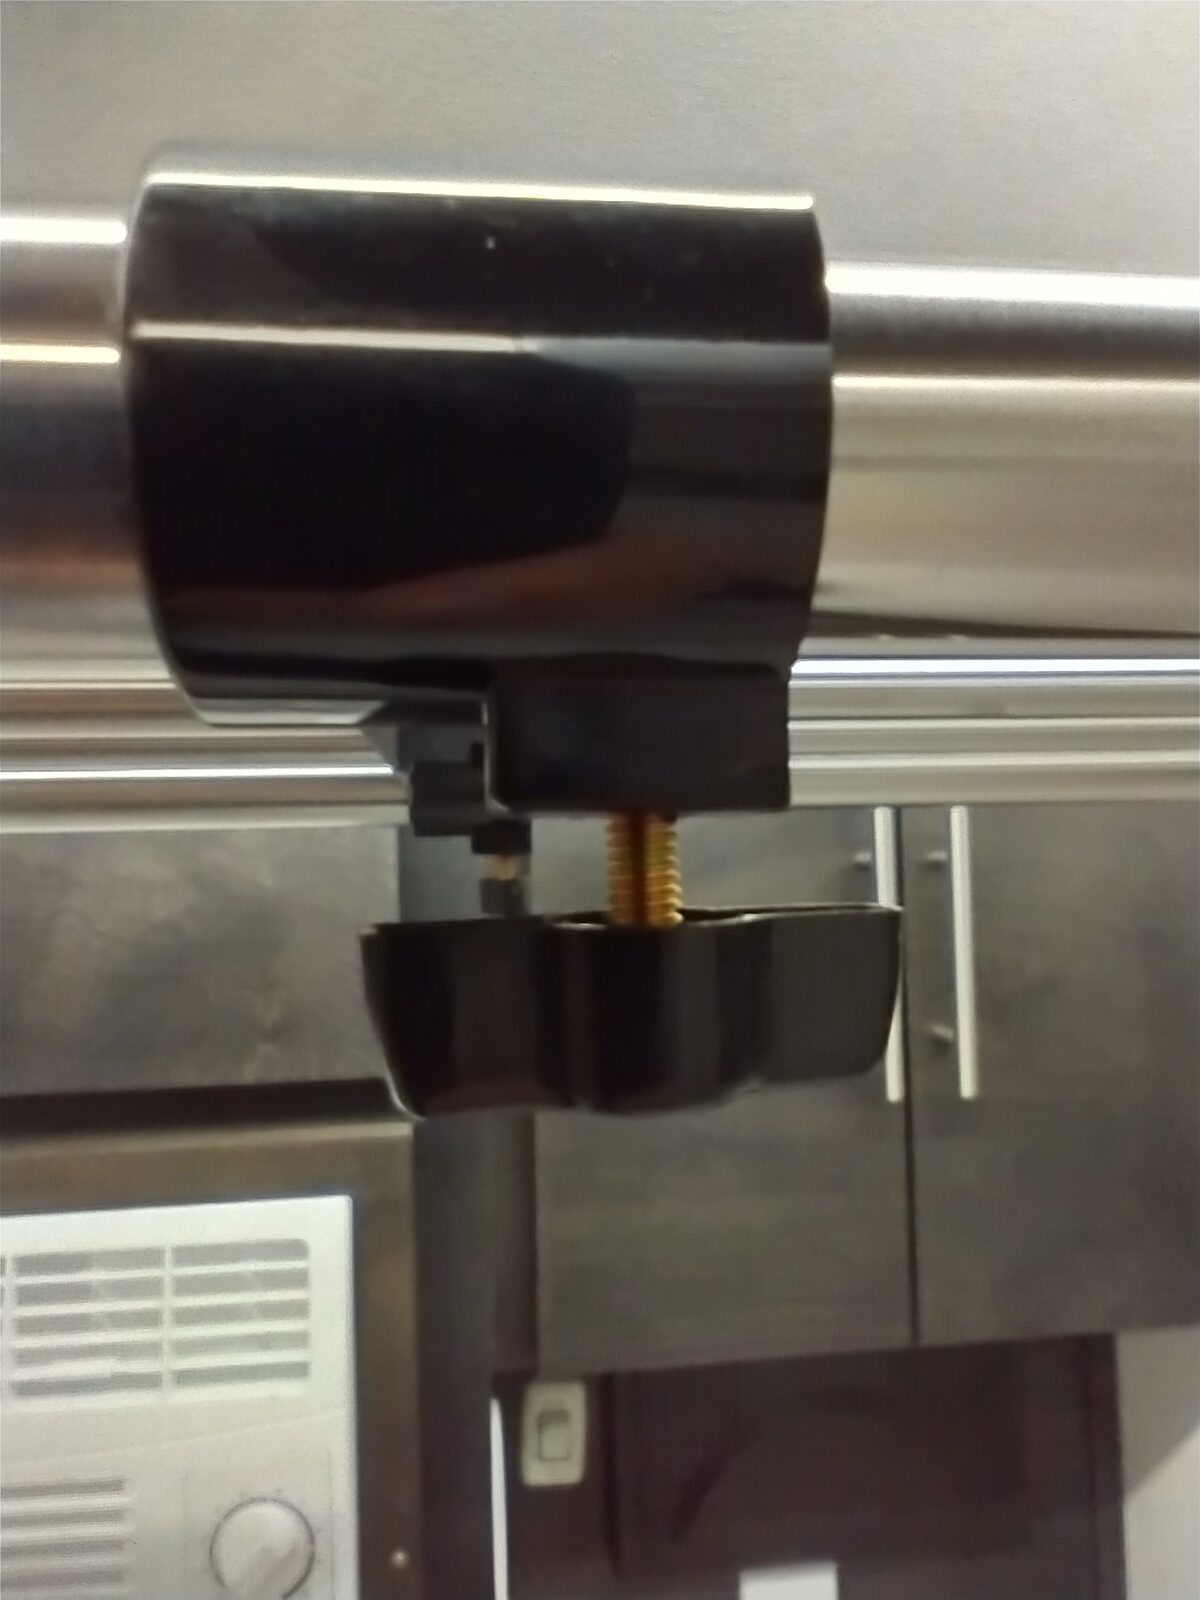
Locking pins lock the shelf in place when in use, but can be removed as needed.
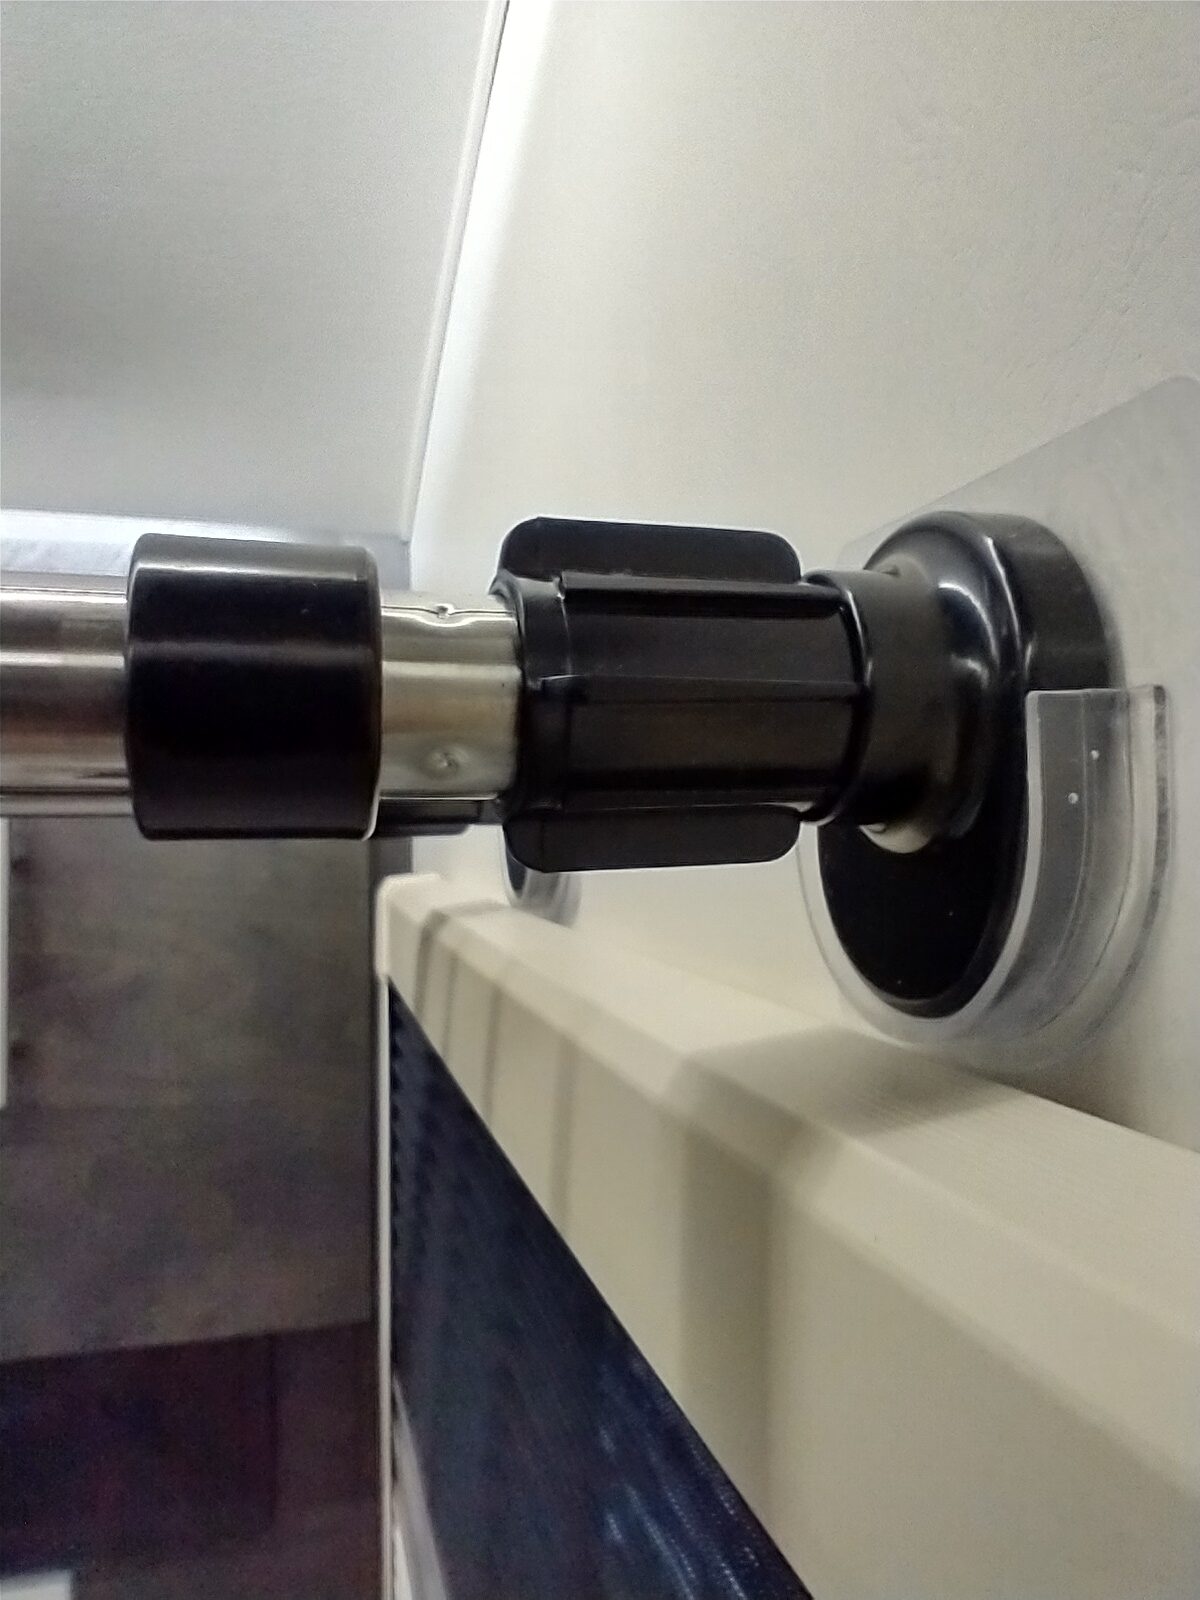
One side of the rack is adjustable so the rack mount can be tightened, or the rack can be removed without removing the locking pins.
This rack is lightweight yet quite strong for this application and is highly recommended for your next T@G upgrade!
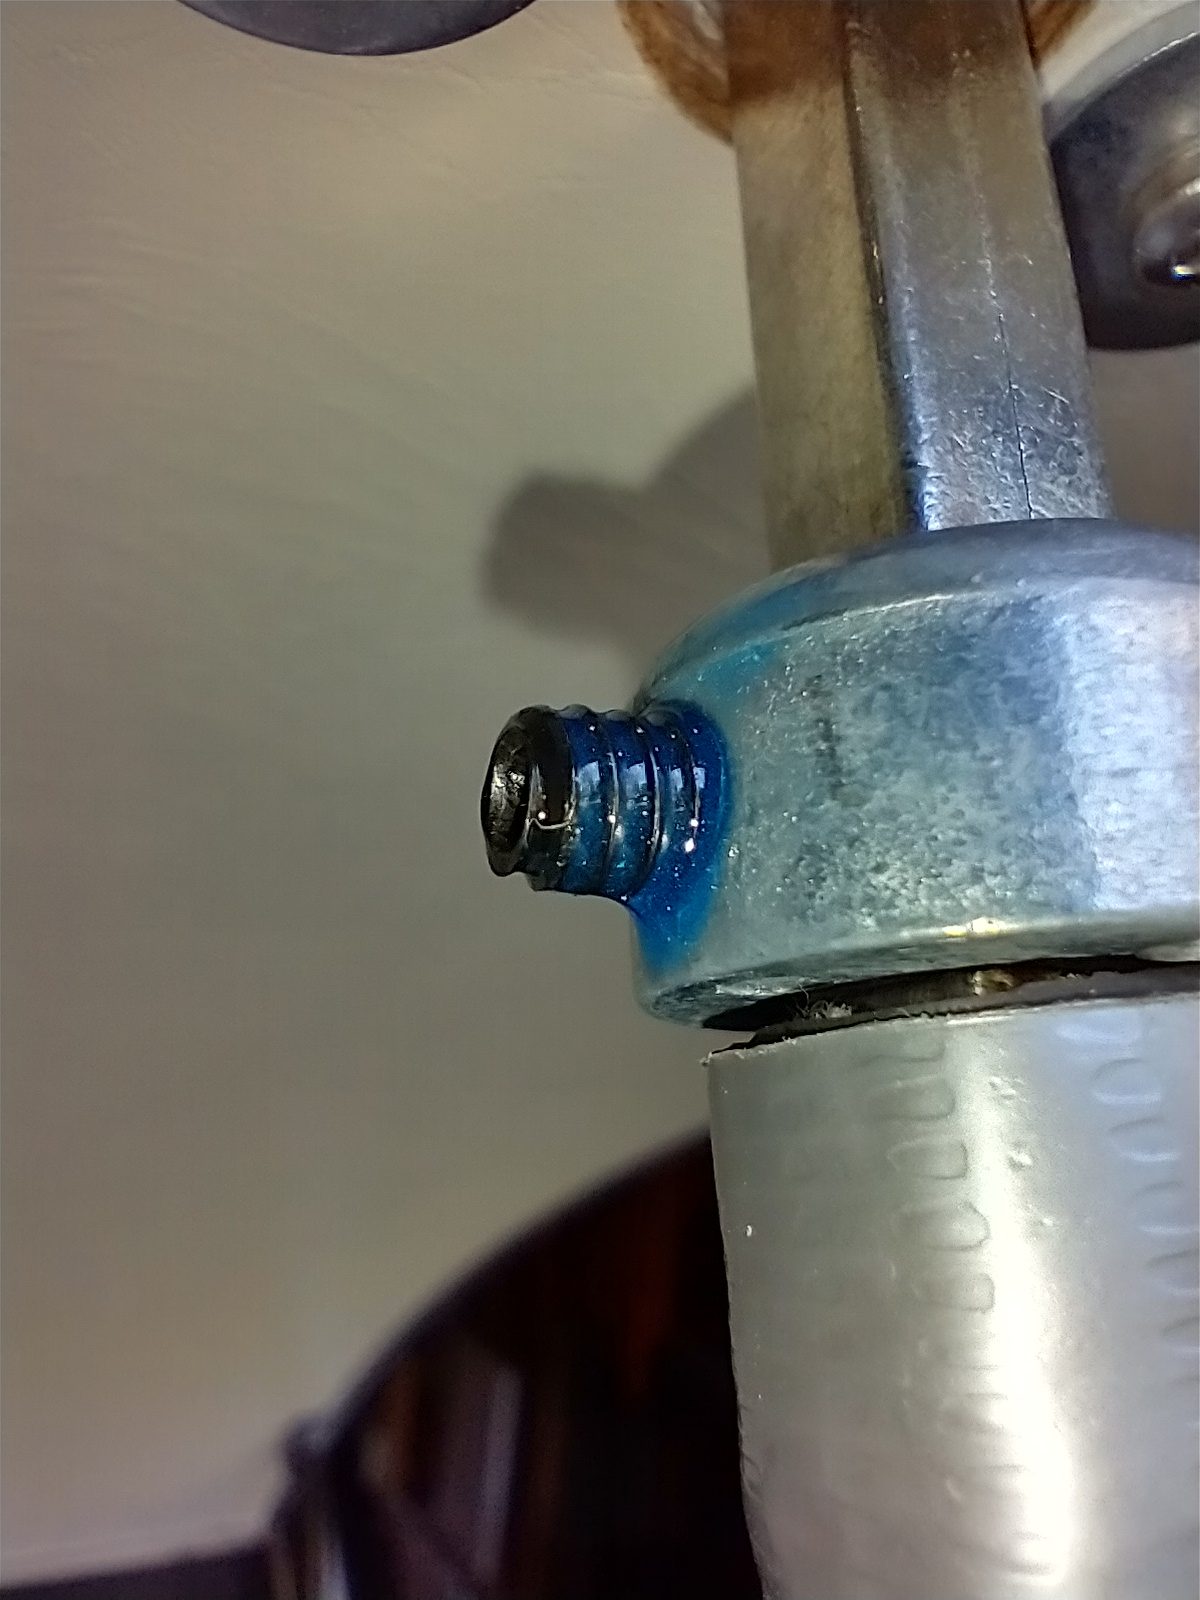
Oh yeah, and the second thing that still bothers me and what I intend to do about it. That’s the propane cut-out switch built into the rear hatch support arm. I’m going to bypass that switch with this one:
Paste Type Rocker Switch ON/OFF DC12V with 39″ cable ($8)
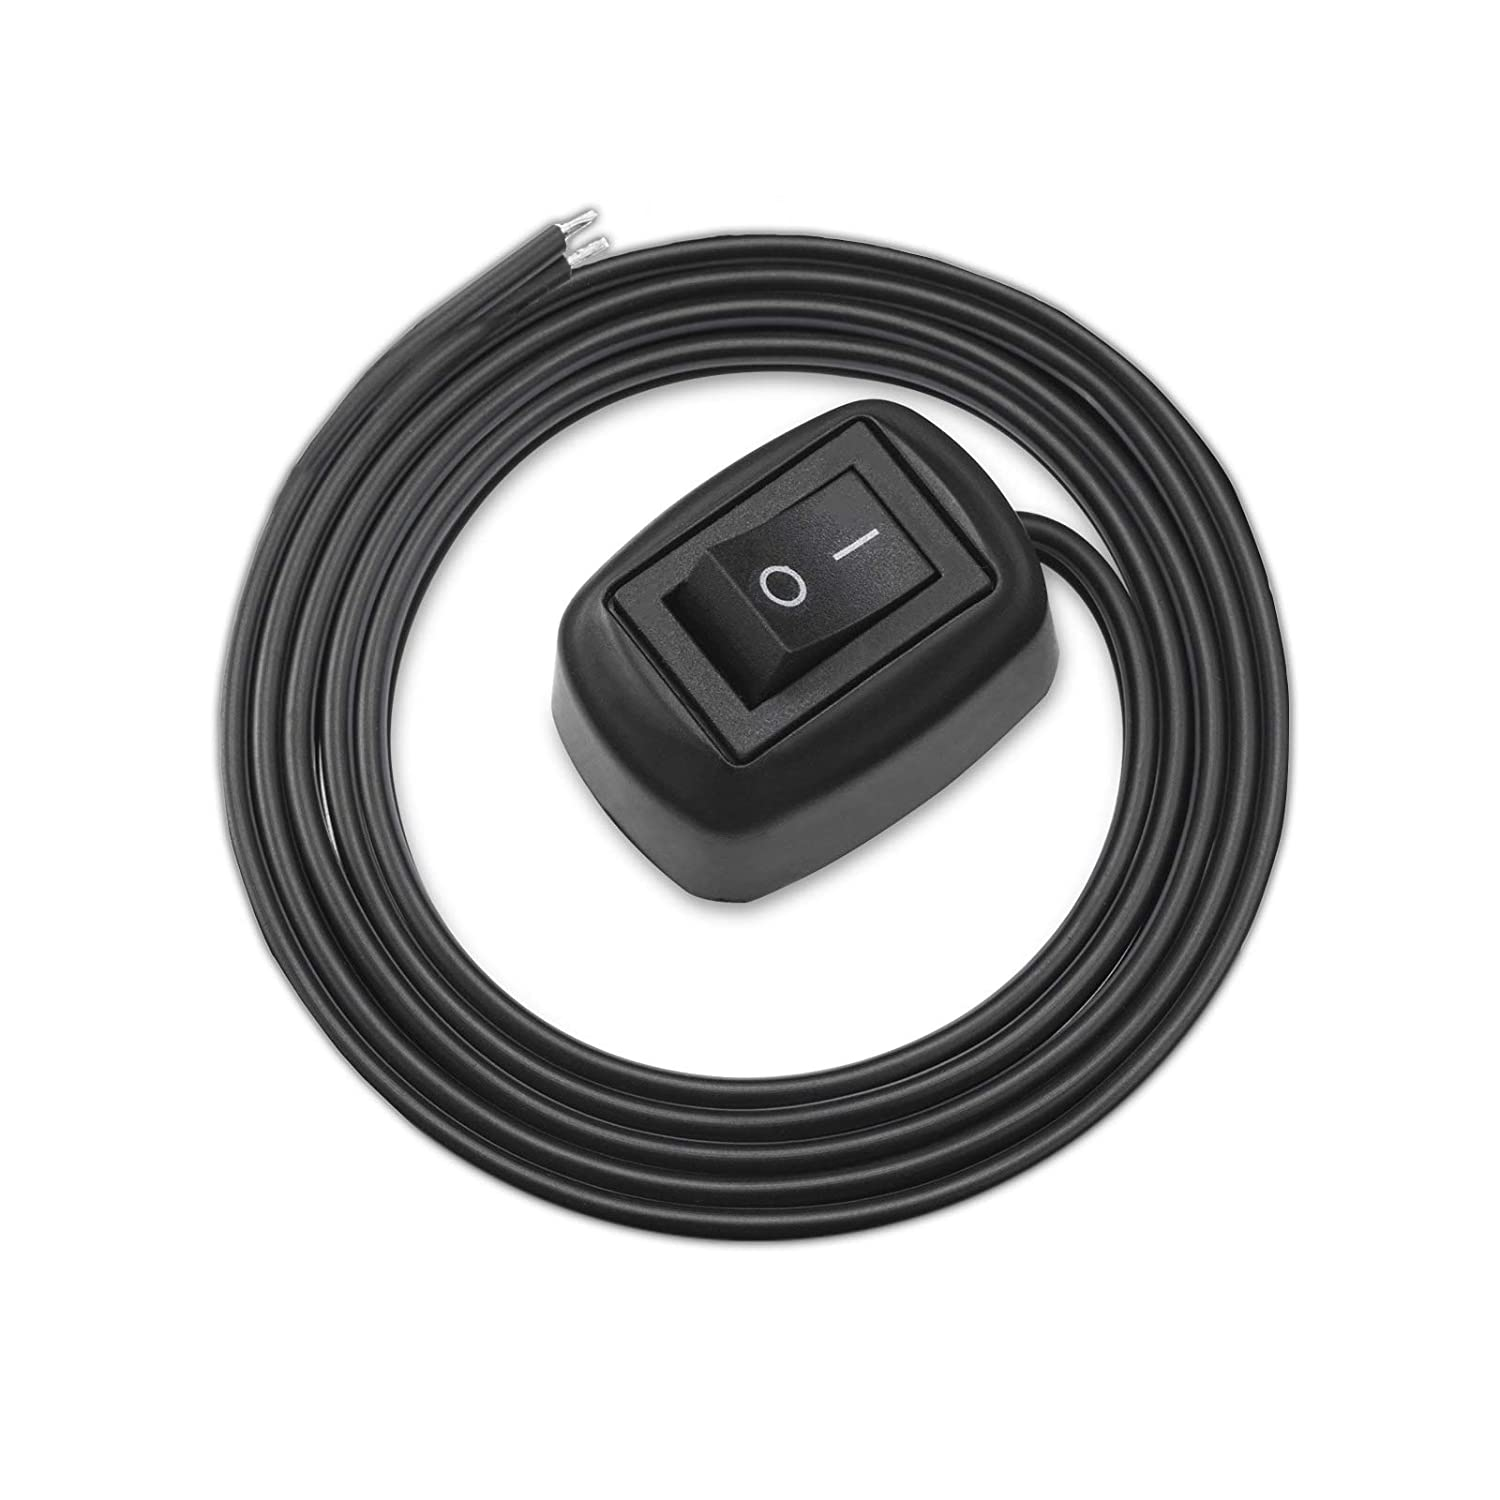
I’ll choose when to turn the propane solenoid on or off. Since the solenoid draws power when the hatch is open, this switch will always be in the off (closed) unless propane is in use. This seems like a simple and intuitive solution, since the alternative is either a drained battery or a broken switch (which happens when you forget to remove the stick before closing the hatch).
Well, that was easy! Snip, snip, solder, solder, then stick the switch to the camper wall and Bob’s your uncle, so to speak… Here’s the aftermath of this most recent upgrade:

The switch in this image is in the ‘off’ position, so the solenoid is closed and there is no power draw. Simple and effective!